Today we have the Aerocatch Hood Latch installation guide. These aren’t your average hood pins. These are super sleek and functional hood latches. If you are thinking about these hood latches, you have two options to go about installing them; yourself or a body shop. Now, if you choose to do them yourself, like we did, you will come to a realization that this is one endeavor that cannot have any mistakes. Simple, right? In lieu of needing a new hood, no guarantees from us though, we hope this guide will infuse some confidence into your wrenching spirit.
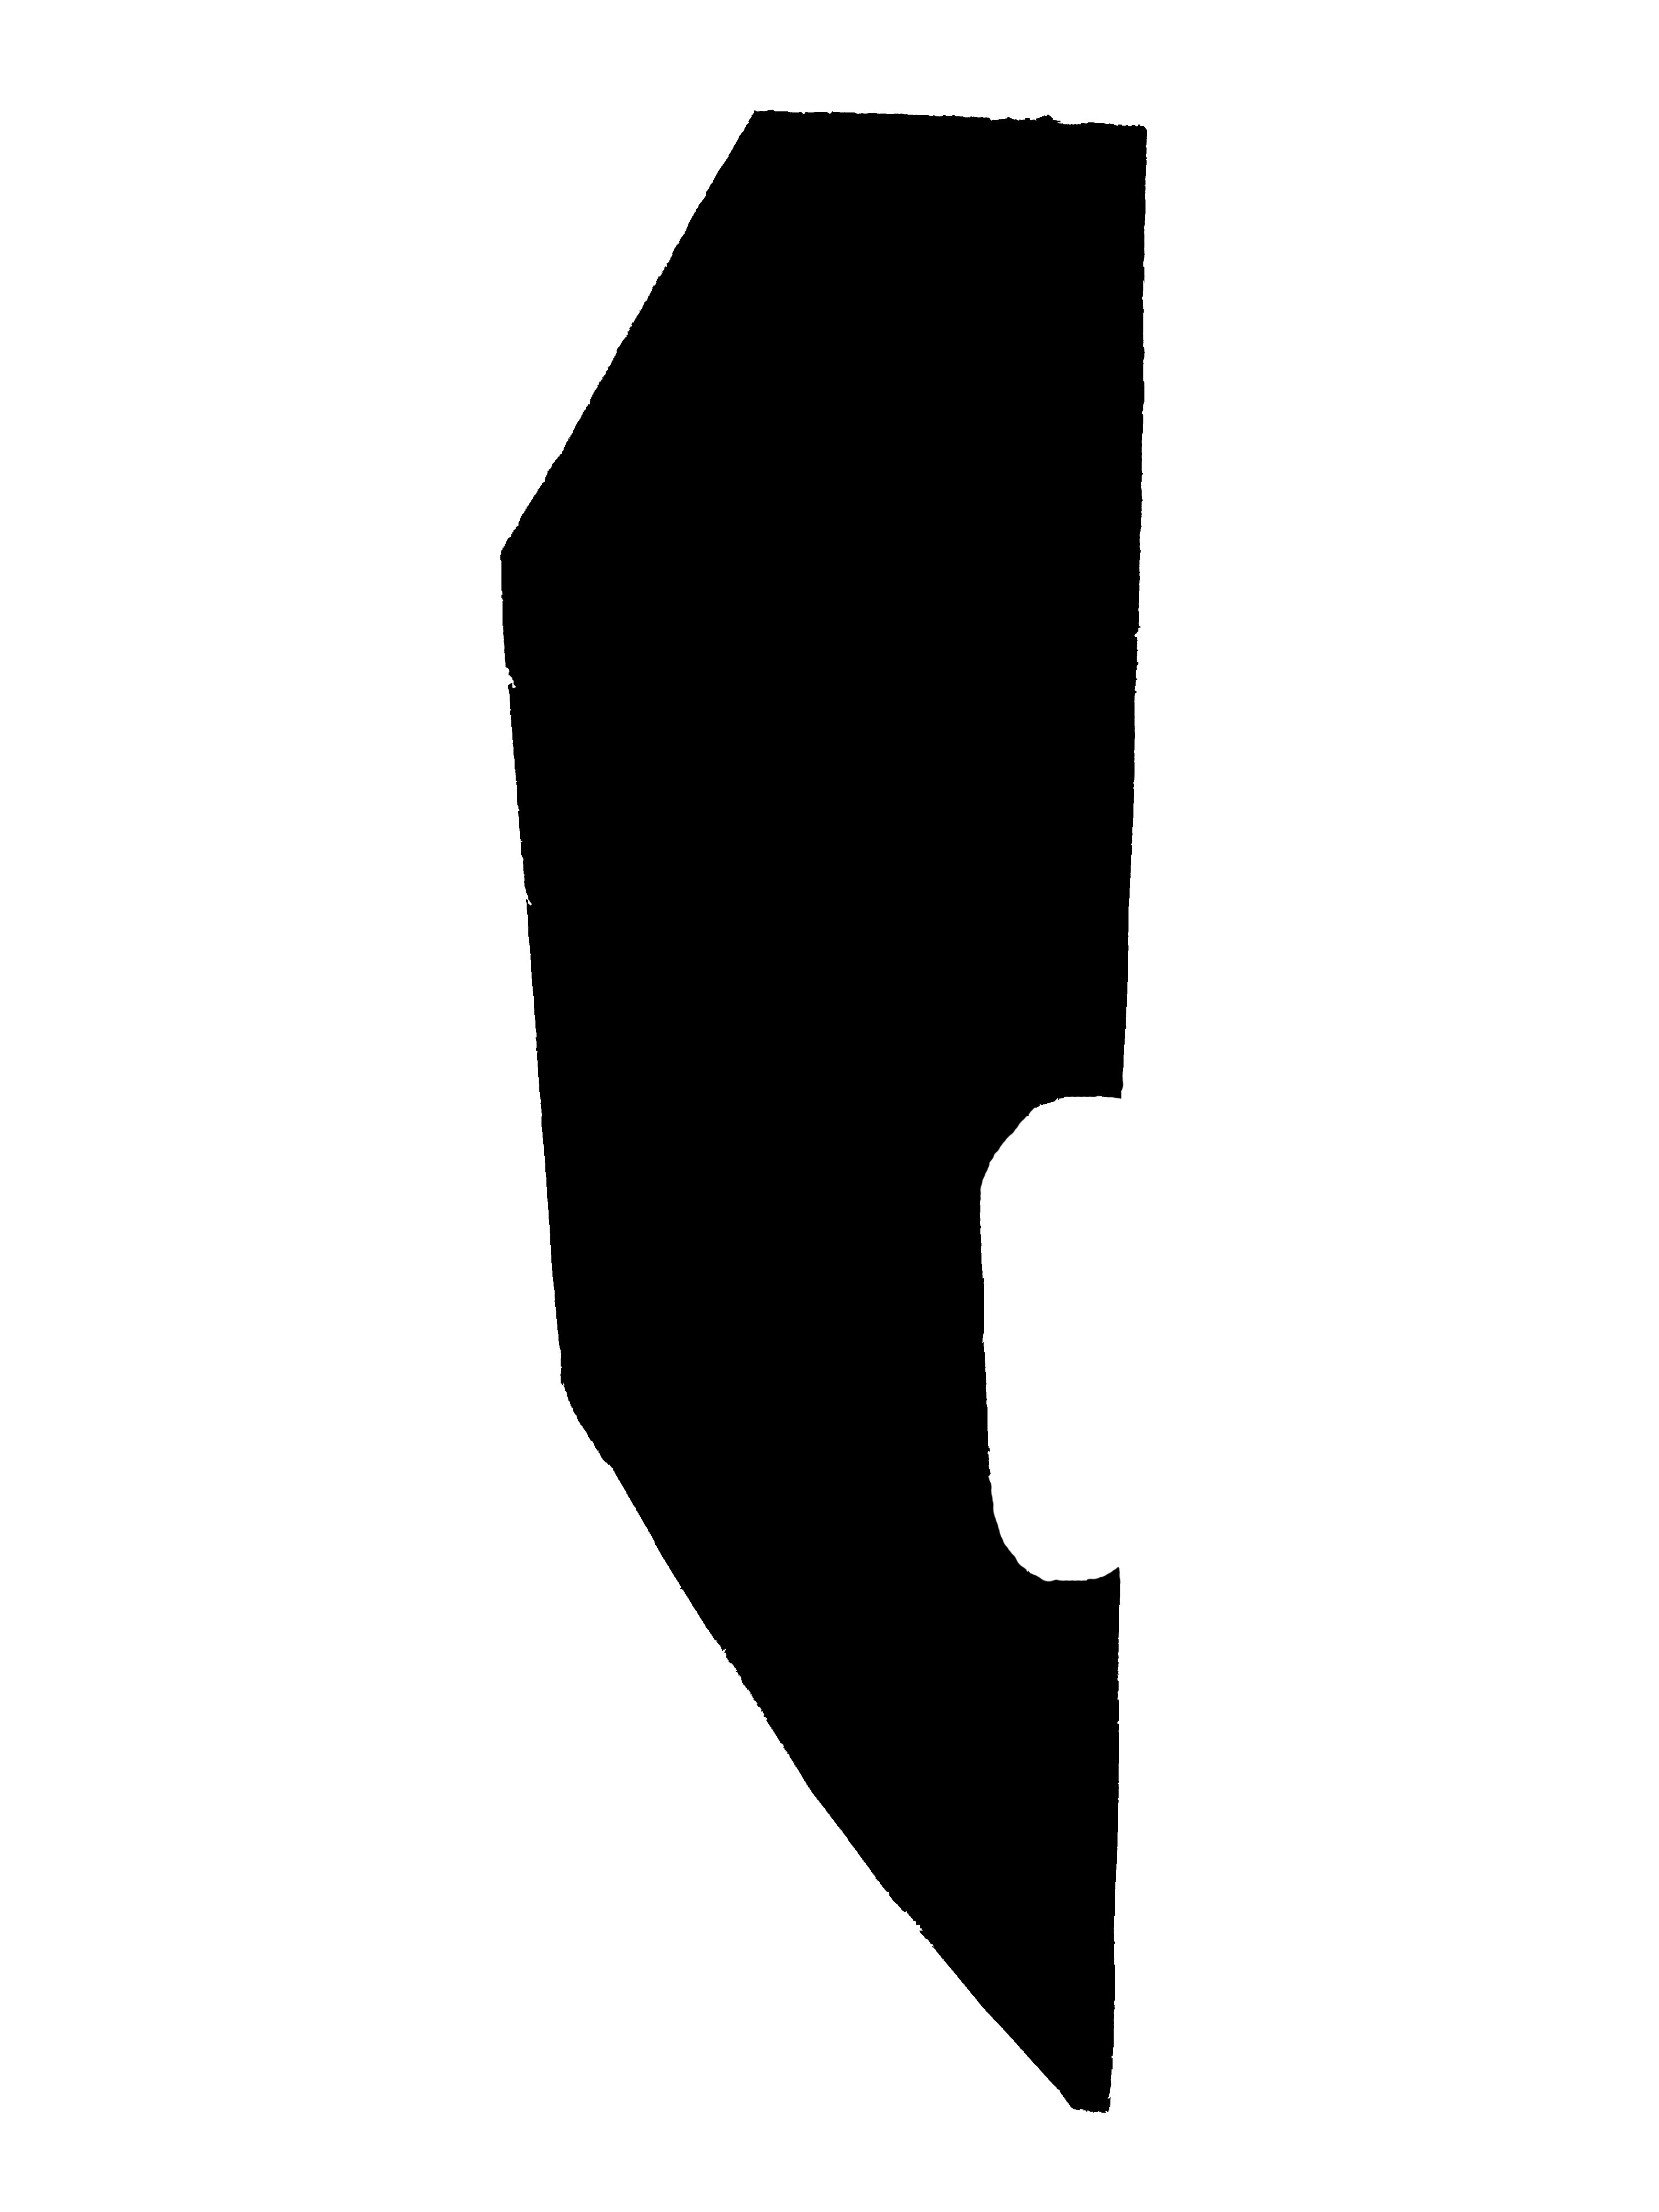
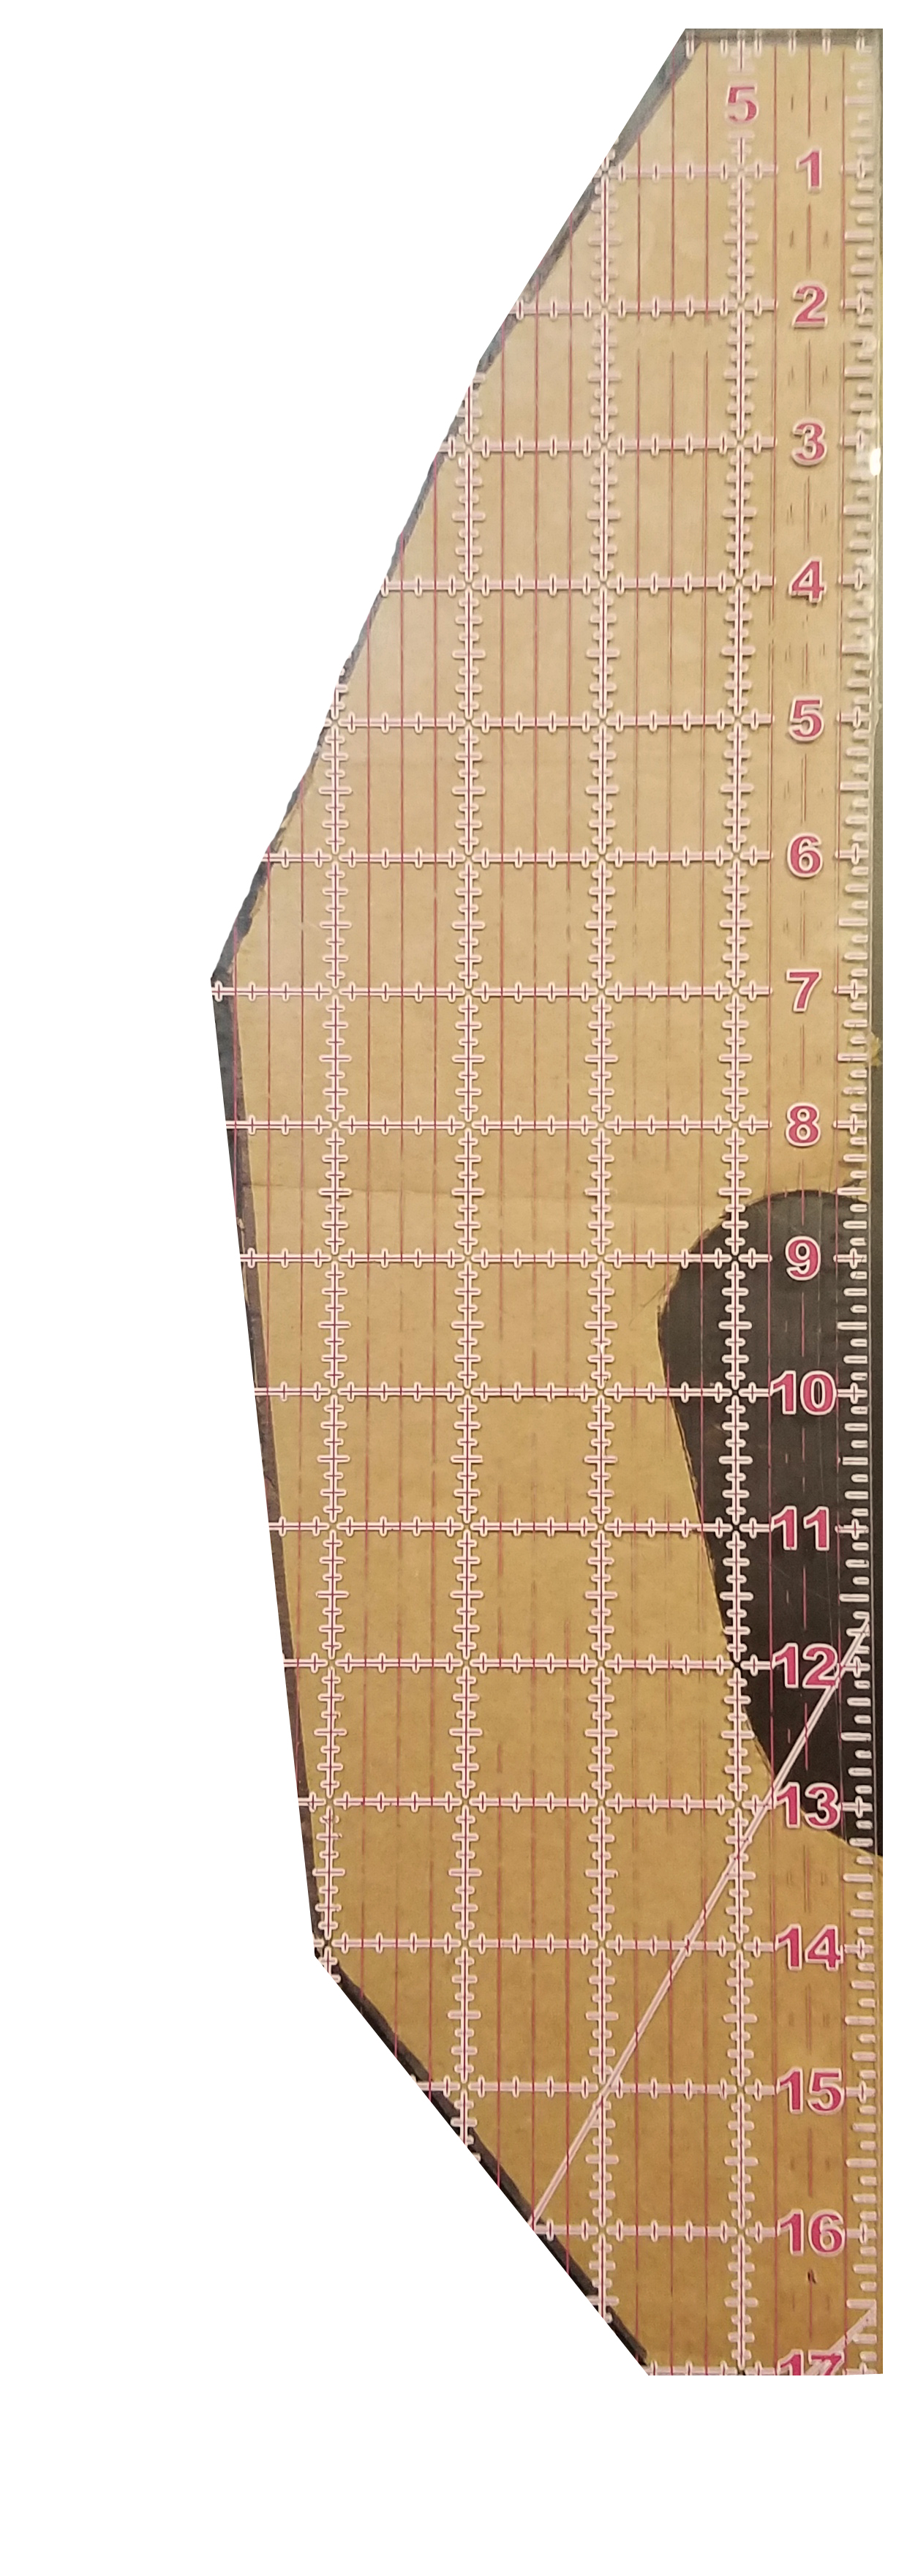
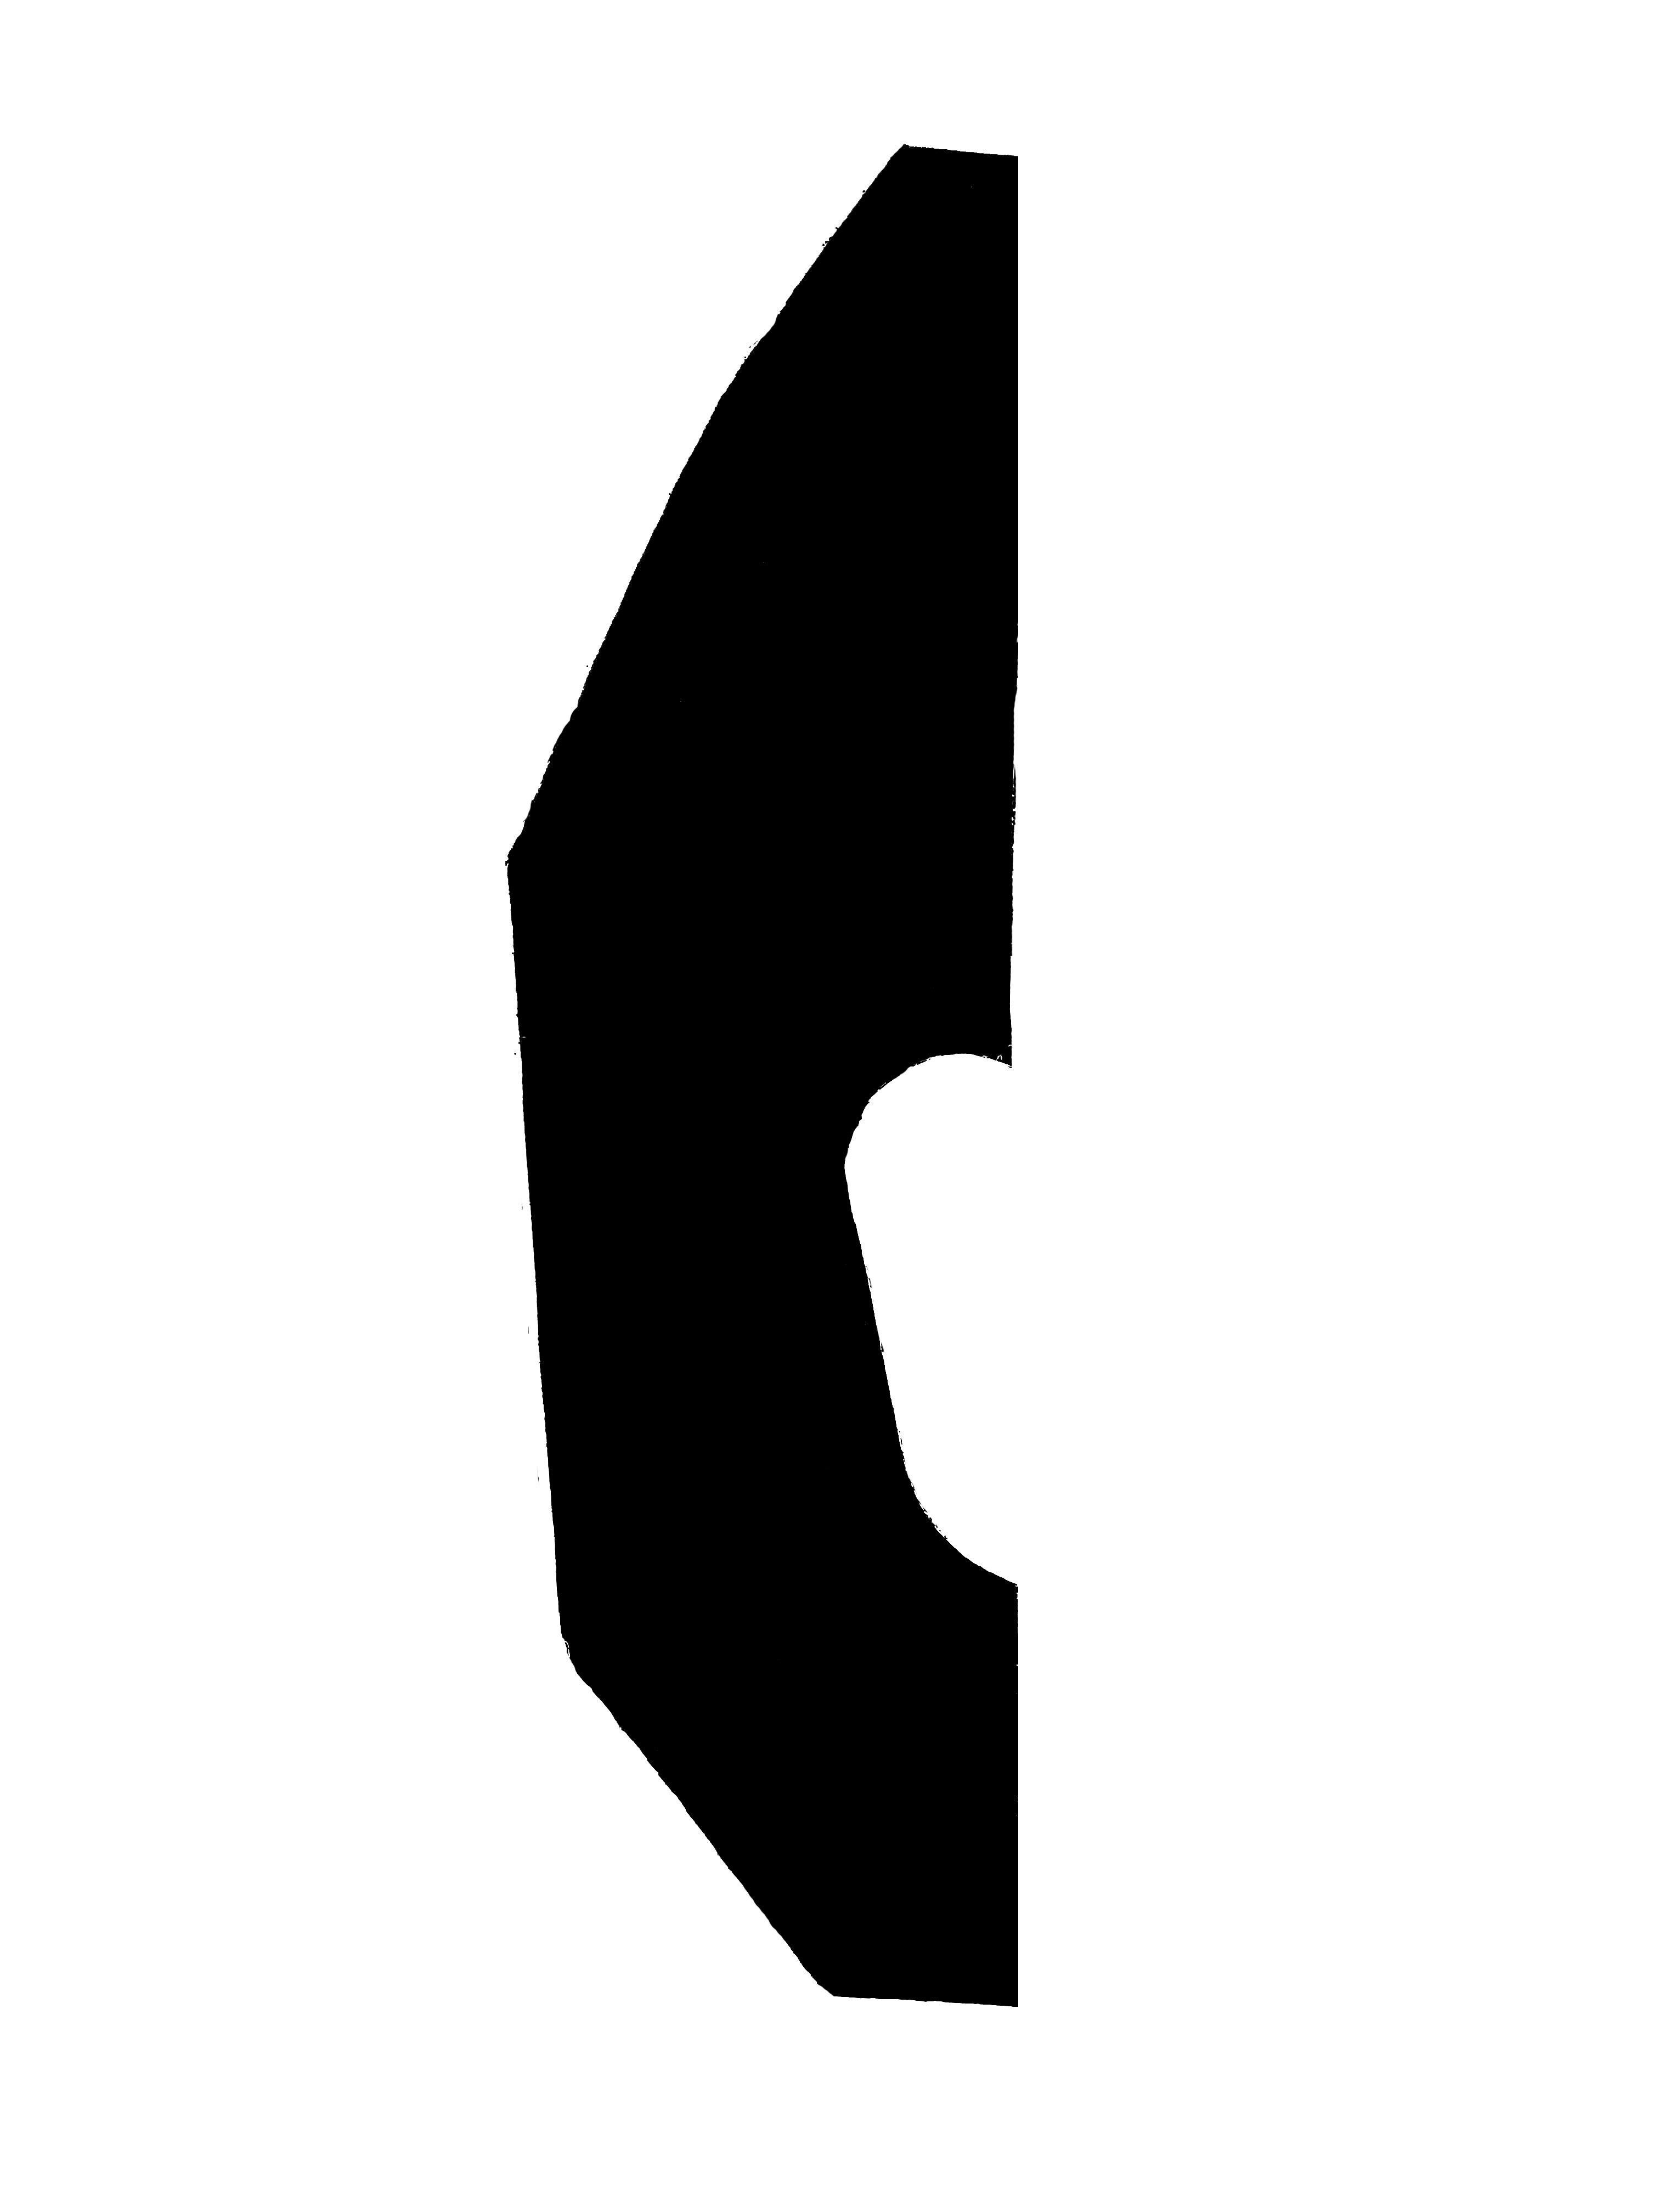
We will include two templates in which you may print out and use as a guide for placement. You do get templates from Aerocatch, but they don't really help to ensure even alignment. The car featured is th3wolf7’s car. Follow him on Instagram @th3wolf7 for some amazing pics and to see progress of his build.
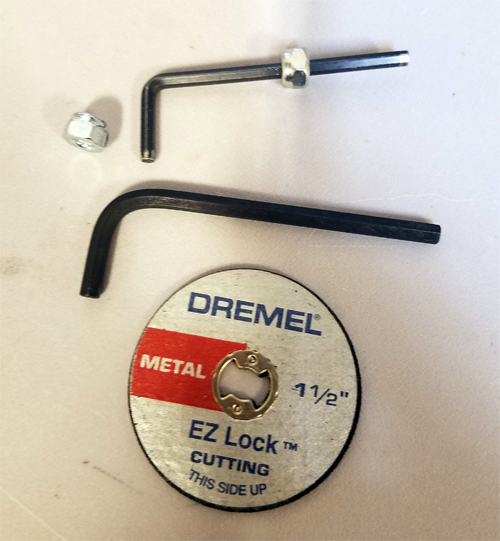
Tools You Will Need:
-Dremel
-About 3 – 4 Dremel metal cutting discs (You’re gonna break at least one. I guarantee it.)
-9/64 Standard Drill Bit (optional 5/32 for a little larger hole) for your screws
-Cone Drill Bit
-Sharpie, pen, or pencil
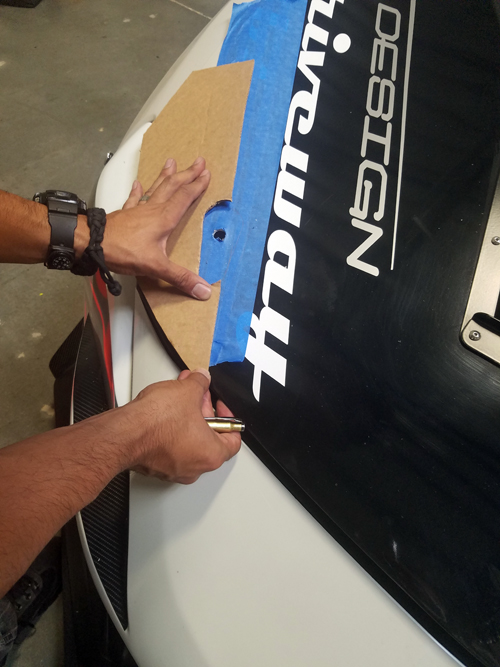
-Cardboard or our template printed out
-1/8 & 3/32 allen wrench
-Wrench
-Knife or something with which to cut the rubber bump stops
-Painter’s tape to protect hood
-Optional: extra M4 bolts in case you lose one inside your hood. This totally didn’t happen to us.
To begin:
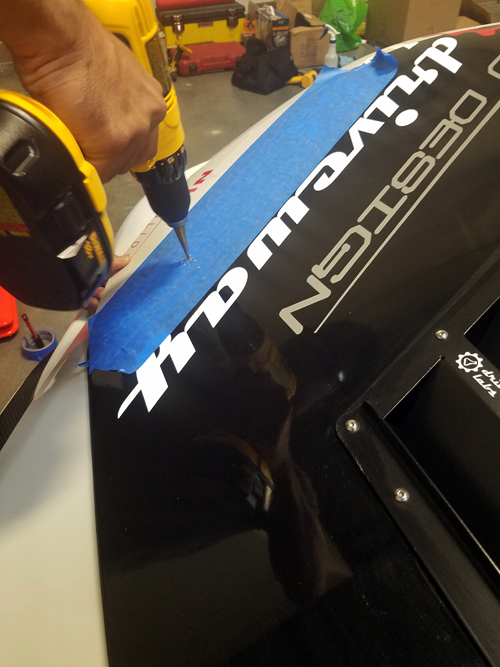
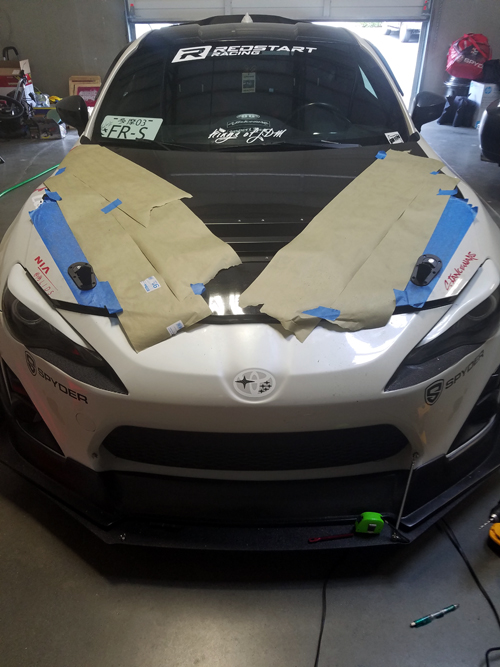
Tape up your hood. Doing this will allow you to draw directly onto it and will protect it from the metal shards that will go everywhere....and we do mean everywhere. We did not tape this hood up quite so much as we knew the wrap would be coming off eventually.

What you will then need to do is ensure that the placement of the latch will line up with the bar underneath where the post will mount. Some tutorials suggest using toothpaste line this up. We eyeballed it and were successful each time. Whichever method works for you, use it. The thing to keep in mind is that you may use a rubber mallet or brute strength to bend the post slightly to line up. So, there is some leeway.
Once you are confident you’ve positioned the post where you want, line up the hood latch on top of the hood. It helps to have something or someone keeping the hood slightly open about 8 inches high. Then, using the hood latch while open, trace the inner rectangle hole.
Now for the drilling. You may choose to use a smaller diameter drill bit to create a guide hole or you can be super brave like th3wolf7 was with his hood and just go at it with the cone drill bit. Make the hole big enough only for the post to go through at this point. If you are using toothpaste, you are probably going to want to drill through the bottom to the top. If you draw on the hood, you are going to be drilling from the top to the bottom. Your choice.
Once you have the hole drilled through the hood (top and bottom), place the post through it and close the hood slightly so it lines up with the metal bar that will be used to mount it. Mark this area with a Sharpie, painter’s tape, or eyeball it….whatever works. Just don’t mess up. You can choose to drill this part now or later. We did it later. We also forgot to take a picture of this step.
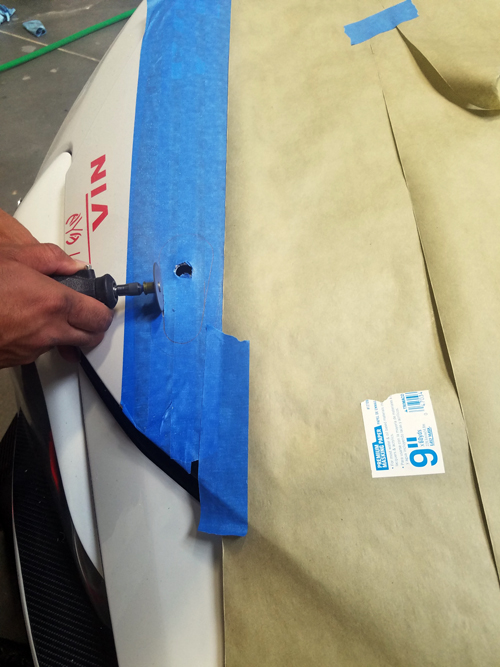
The next thing we did was trace the Aerocatch Hood Latch onto the painter’s tape. After you have the outline of the hood latch drawn, break out the Dremel and start cutting the entire outline. Yes, this seems to make the previous step futile, but that was mainly to ensure everything is lining up.
Cutting the top is a little easier than the bottom, so we suggest starting from the top. When you finish the cut on the top, you can use the hood latch as a guide for drilling the screw holes. This alleviates any possible overdrilling or misalignments.
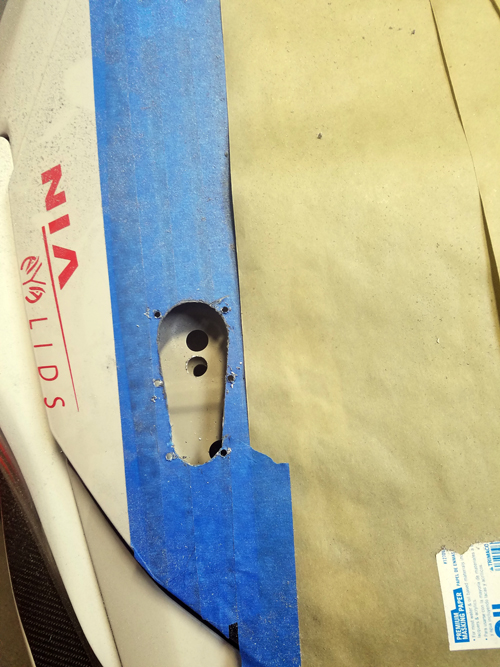
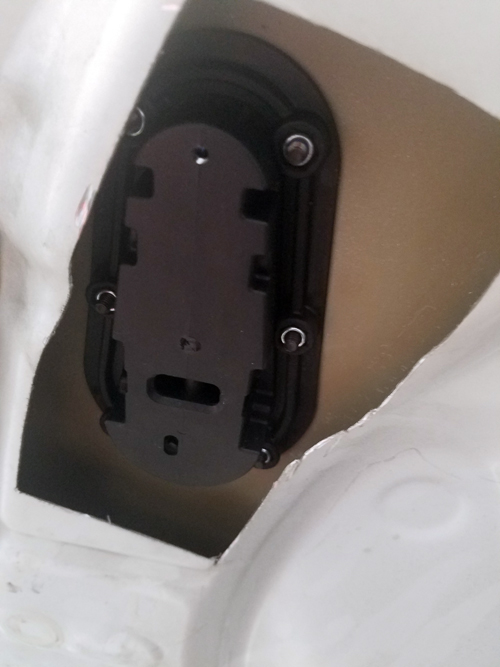
The bottom does NOT need to match the outline of the top. In fact, it actually needs to be a large, gaping rectangle or just large enough so that the plastic mount that holds it to the hood can fit. The screws are bolted into this piece and it helps to have room in which to work.
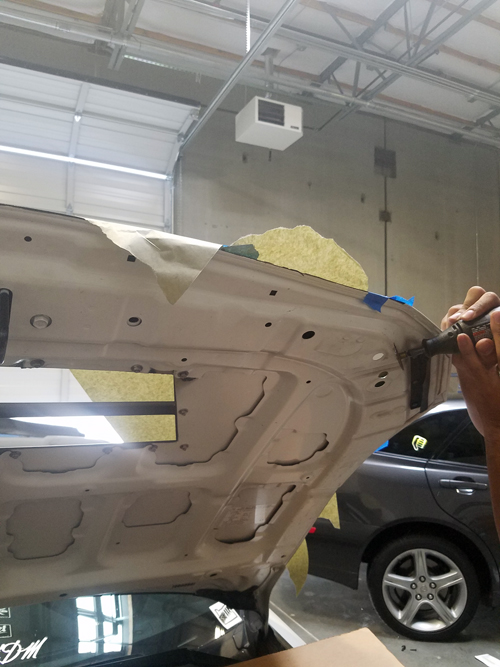
A word of advice here: cram a cloth or something into the hood where one of those tiny, irritating bolts could fall into otherwise or you’re gonna have a bad time. Another tip prior to placing the plastic piece onto the hood latch; put the tiny, irritating bolts into it first. Using an allen wrench, put it into the hole in which you are screwing into so that the bolts don’t fall out while you are threading the screw. Once you feel the screw, you can use your finger to hold the bolt in place, but there’s a chance it can come out while the screw is threading initially. An interesting find was that we did not need to use any of the tiny washers that are provided. If you choose to use them, nice. If not, join our club.
At this point, you can line up the other side or you may have done this already. This is another comfort zone item. Using our template makes it easy to have done this at the beginning, but you could do it one at a time, too. On our RSRBRZ, we did one, then the other. On th3wolf7’s car, we did them at the same time. The choices are many….many being two. You have two choices.
After you have both hood latches mounted and installed, you can drill the holes for the posts now. Or, again, you may have chosen to do this part with the initial hole drilled. Up to you. We decided to do it last. It’s easiest to just put the post through the latch hole and lower the hood to determine the placement of the post once again. What’s the saying? Measure twice, cut once…? Not like you really have an option to cut twice with this install, but hey….paranoid parrot people out there are perfect for this install. If you know one, have them around.

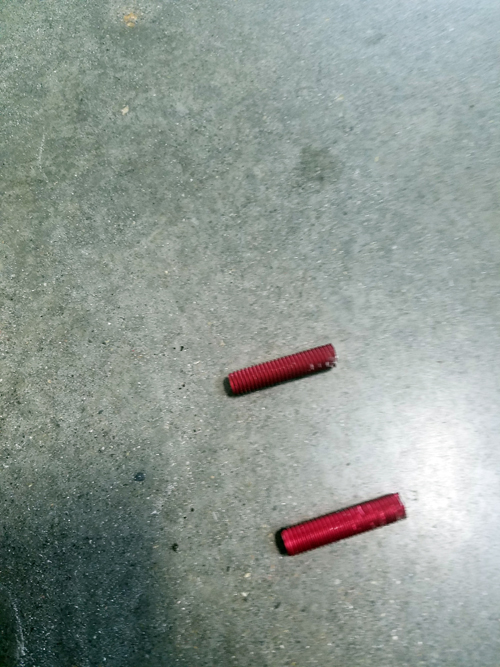
Once you’ve got it, drill away. Now that there’s a hole there, put the post into it. If you are using the latch position as shown on th3wolf7’s car, you are going to need to cut the posts so they fit since the HIDs and whatnot are in the way underneath the mounting bar. During this step, you’ll also need to cut the rubber bump stop down to allow the hood to close.
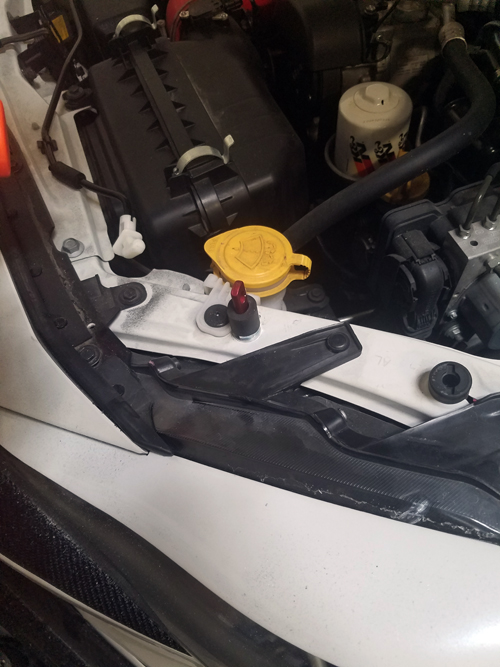
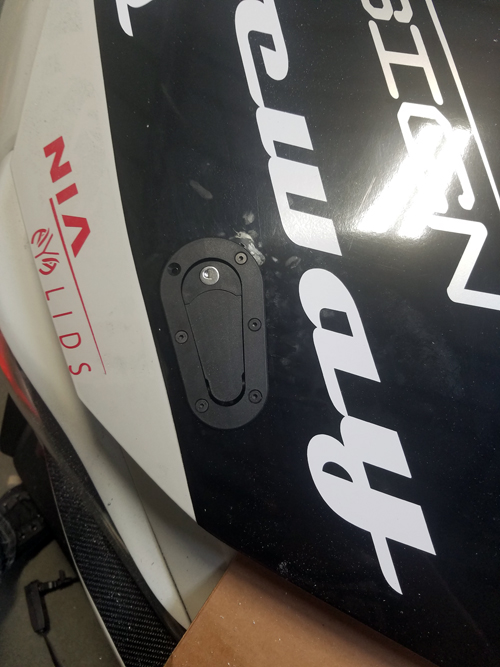
Mount the posts using the washers and bolts on both the top and bottom. Don’t fully tighten them. You’ll need to do a few test closes of the hood to line up the posts with the latch holes. You will need to bend them most likely. Finish the few minor adjustments of height and then tighten the bolts holding the post and close the hood. That’s it. Done. Congratulations! You now have proper hood latches that are safe, effective, and look amazing.

-------------------------------------------------------------------------------------------------------------------------------------------------------------------------------------------------------------------------
If you have the locking latches such as th3wolf7 does, you can remove the factory hood latch if you want. The RSRBRZ does not have the locking latches, so we kept ours. However, we now must unlatch the Aerocatch latches first, then open the hood from inside the car. So, it’s become a 2-step process to open the hood. Just something to keep in mind.
Here’s the finished result of both vehicles. You can also see more pics on our Instagram pages @ th3wolf7 , redstartracing , and rsr_decals. Follow us! Hopefully, this has been helpful to your Aerocatch Hood Latch installation project.
Also, this is very important, beware of fakes. There is only one Aerocatch. Visit their website for more details and for purchase at: http://www.aerocatch.com/
Here are the templates we used for placement. You only need one. Print it or trace along the bottom and side hood line of your car then cut halfway through as we did. This way you flip it to match the other side exactly.
For RSRBRZ placement:
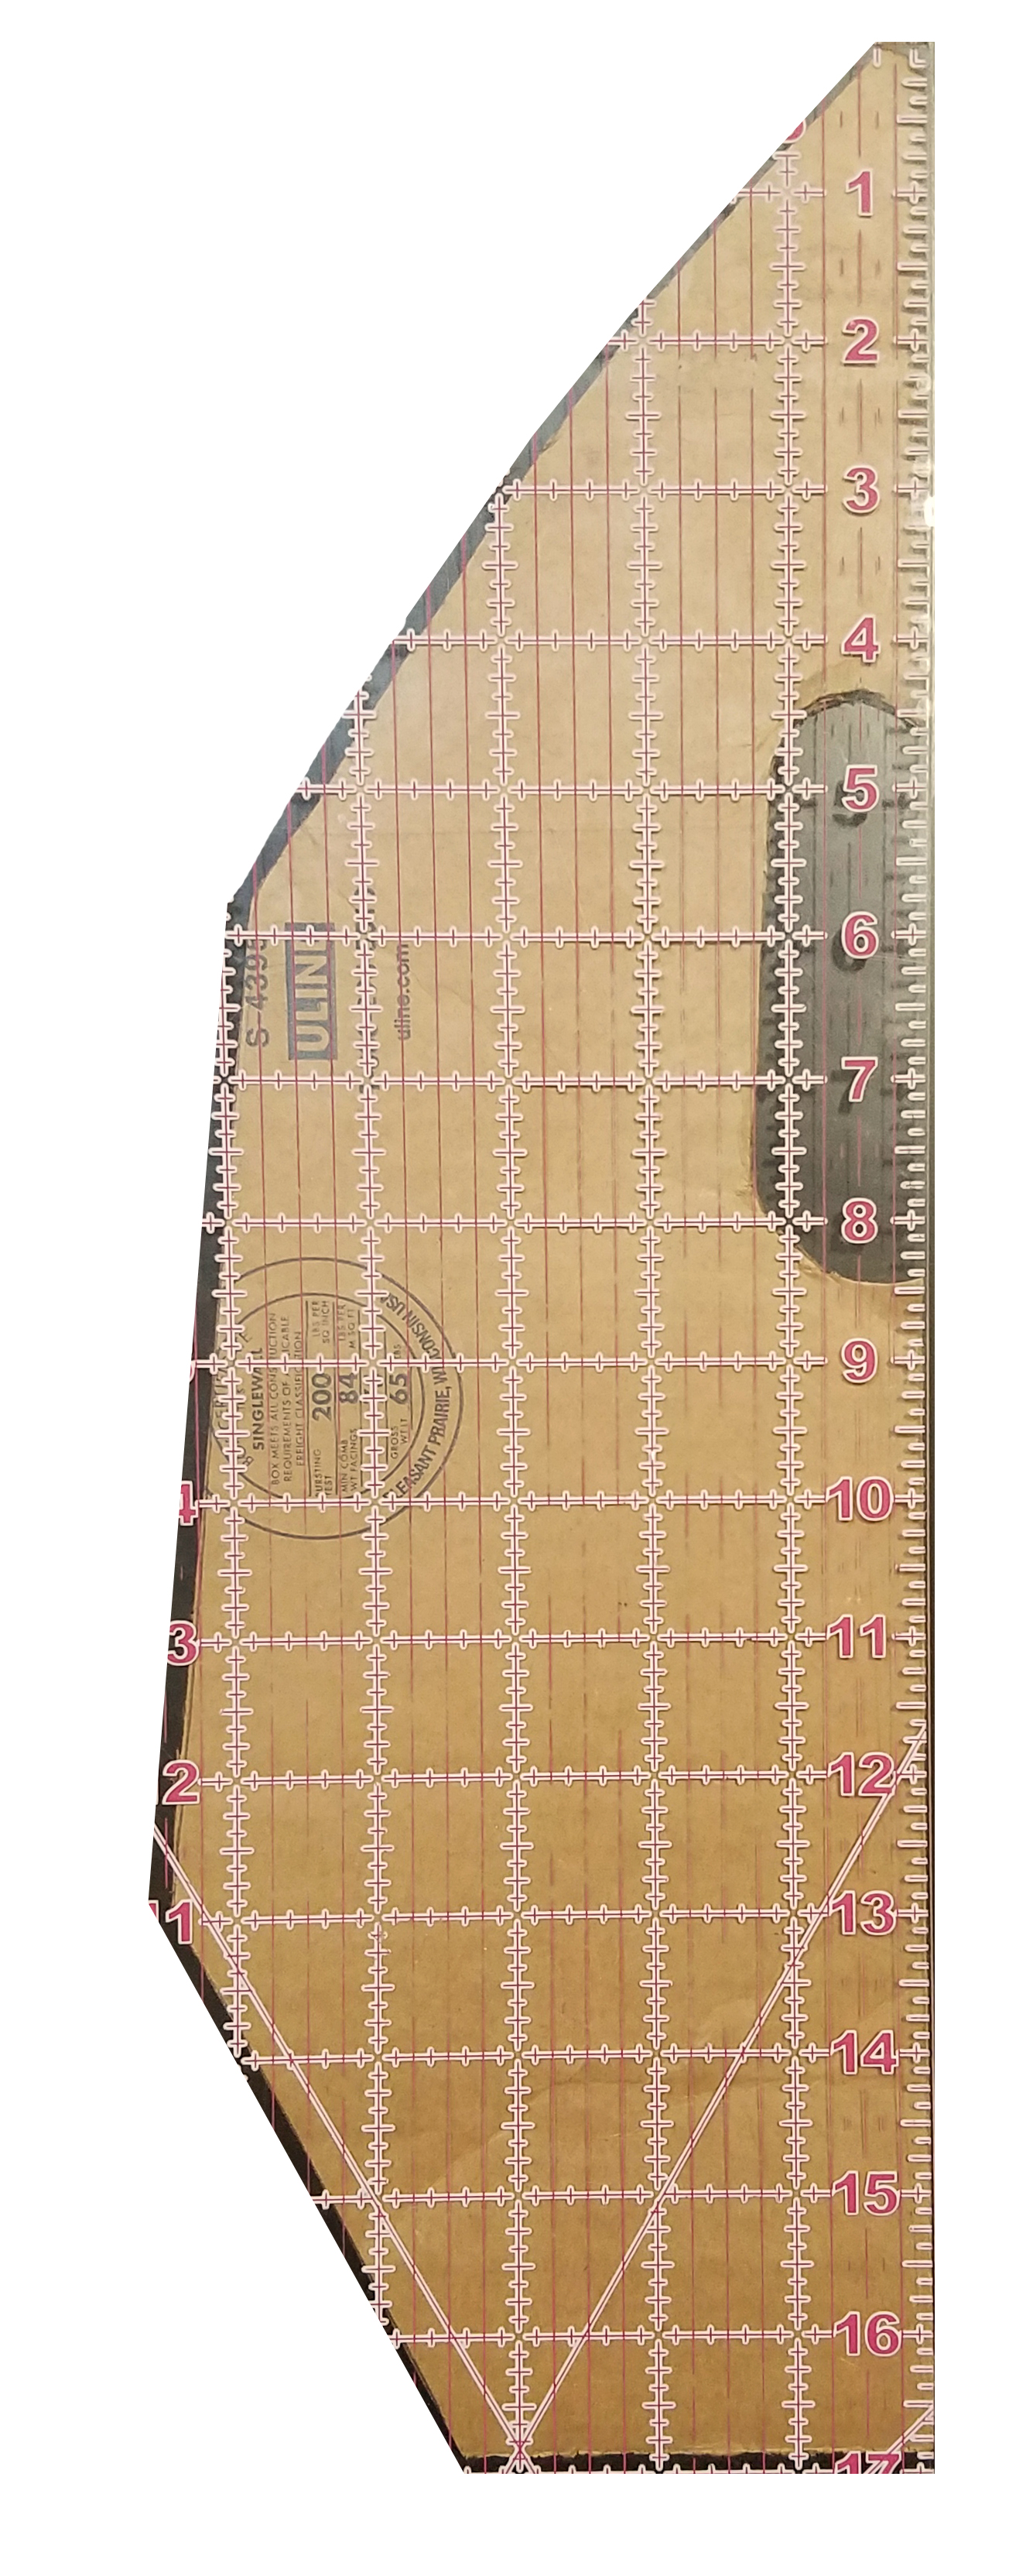
For th3wolf7's placement:

You must login to post comments.