Hey Everyone!
As we're modding the #RSRBRZ, we’ll be doing the write ups here.
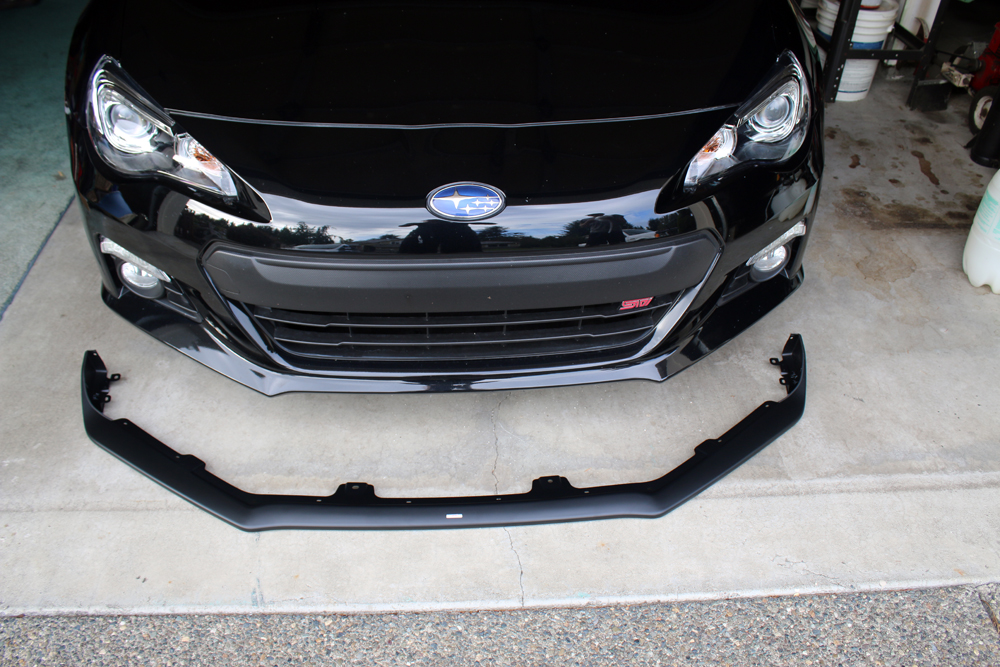
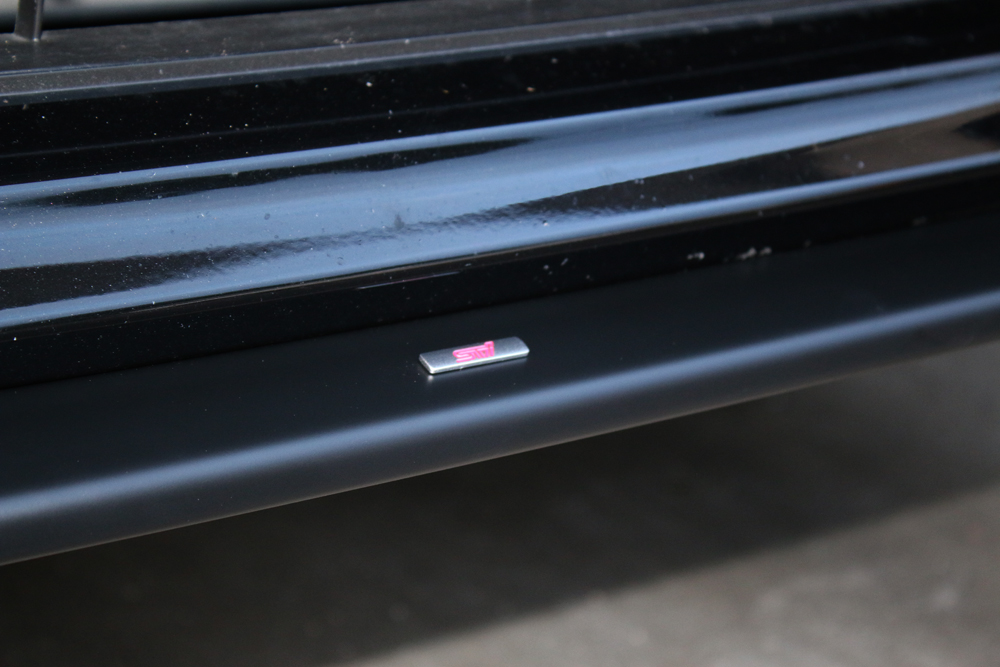
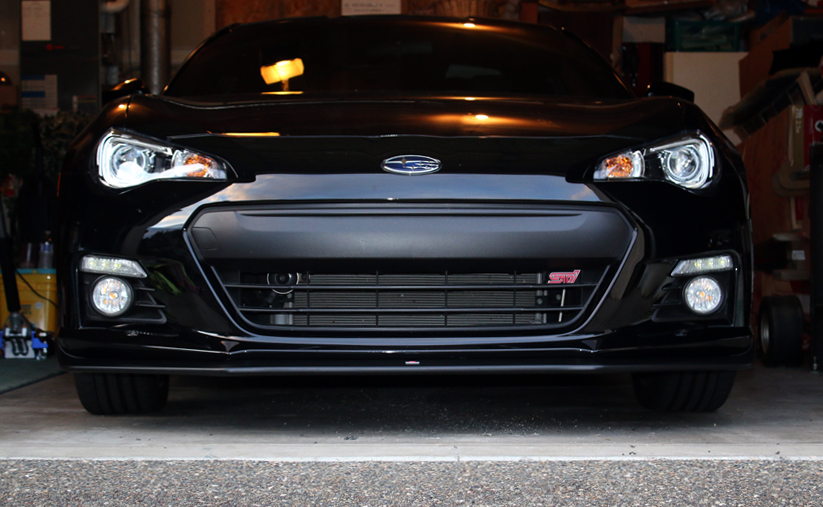
Our first upgrade, (after removing the plastidip from our rims), was to add the STi front lip. This was a pretty easy job as it only took about an hour.
This is the PDF from Subaru here: Instructions
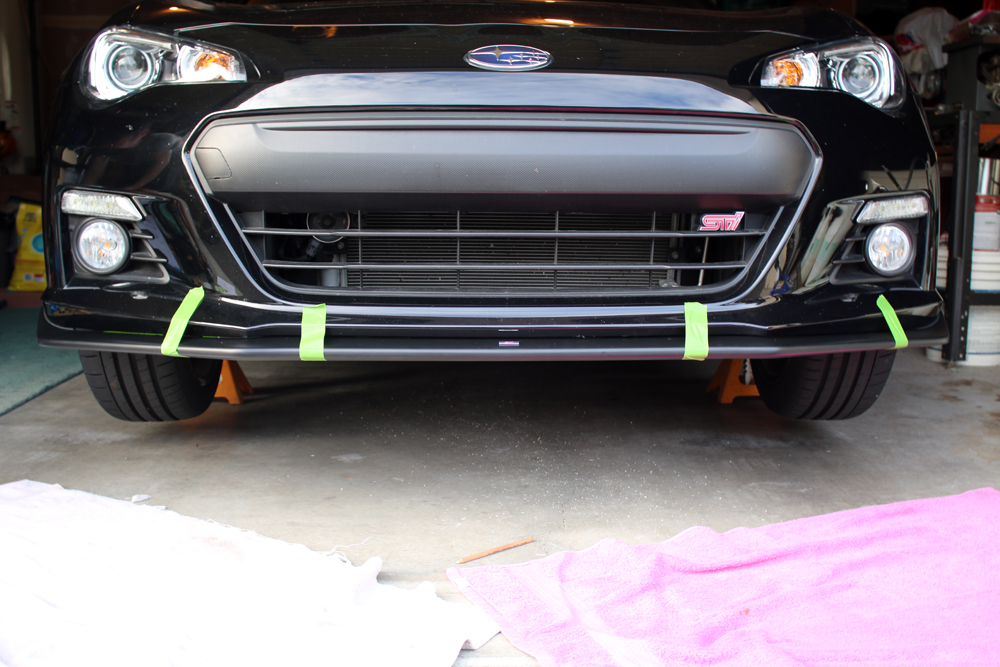
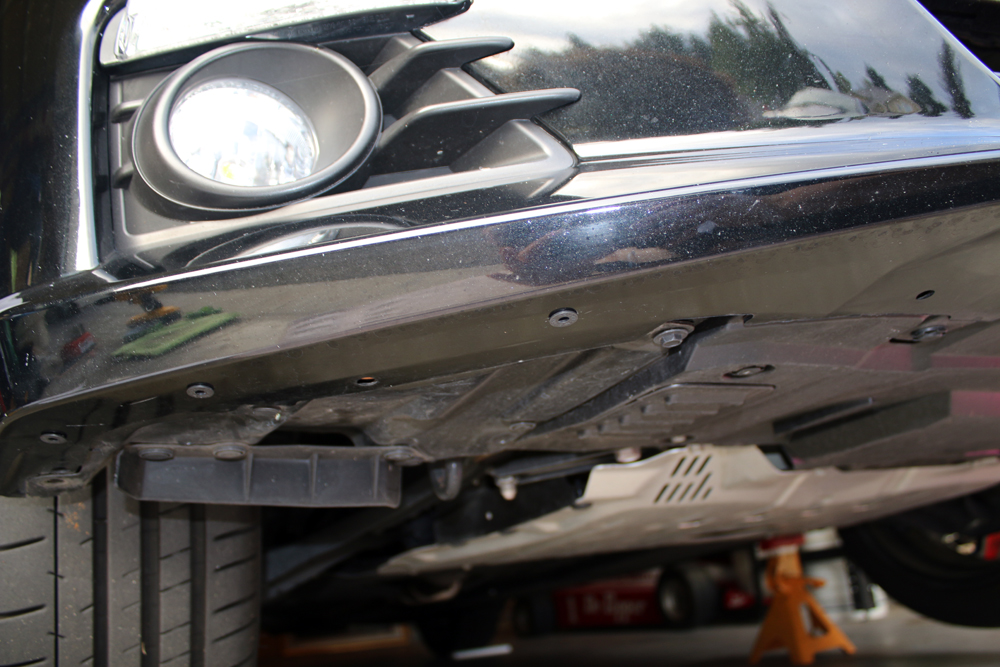
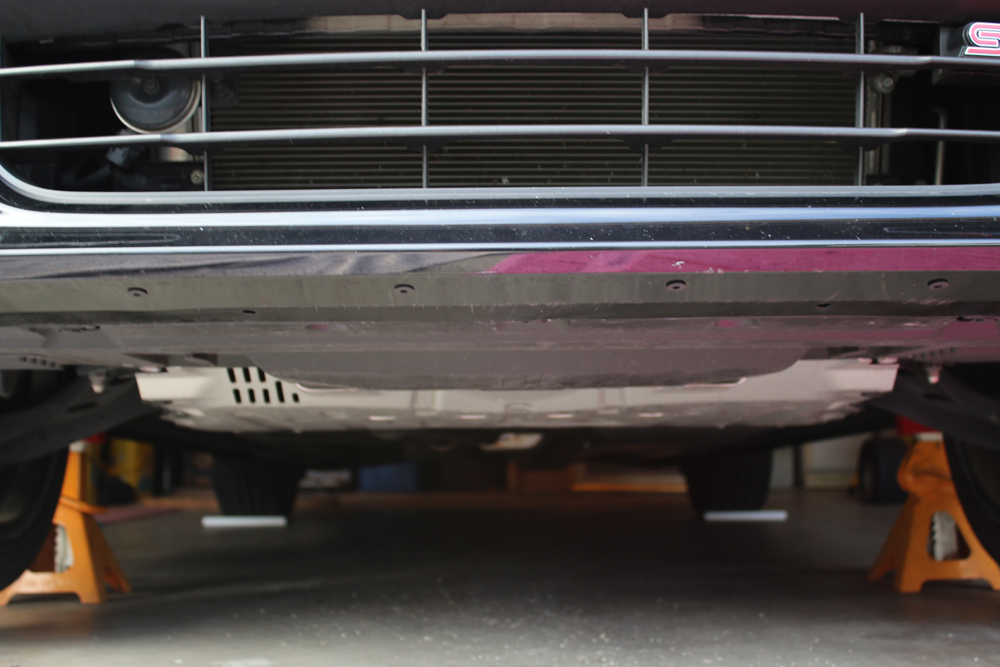
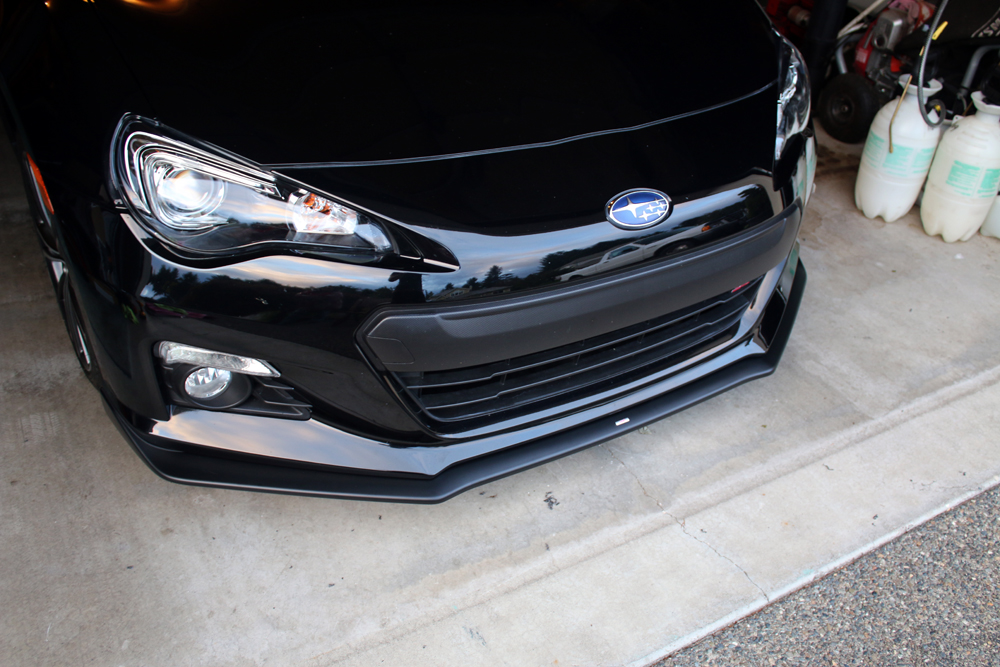
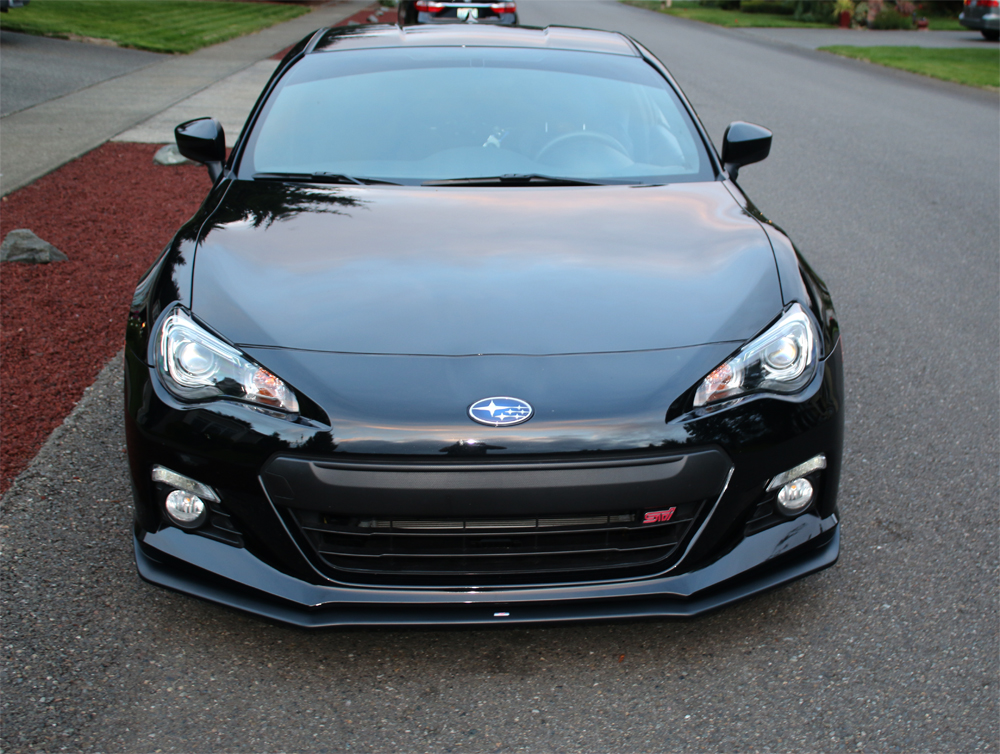
Here’s the BRZ before:
The tools you’ll need:
-Hydraulic Jack (w/optional wood chunk)
-Jack stands
-Small Phillips screwdriver
-Small flathead screwdriver
-8mm socket wrench
-Frog Tape/Painter’s masking tape
-Drill
-3mm, 5mm, 6mm, and 9mm bits or (7/32, 9/64, 5/16, & 3/8 if you don’t have metric)
-white charcoal pencil or grease pencil
Step one:
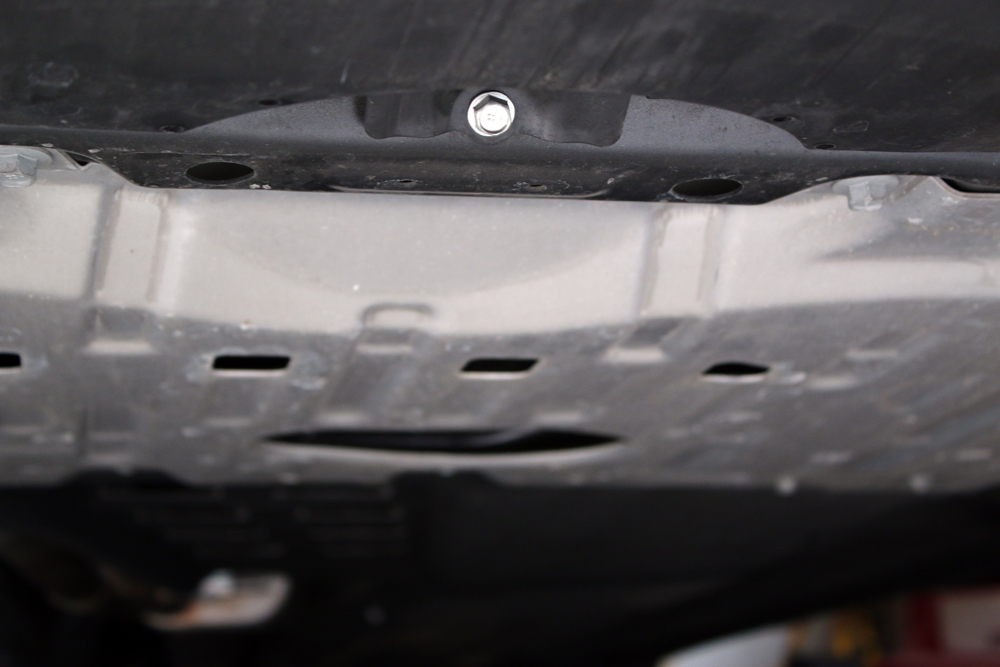
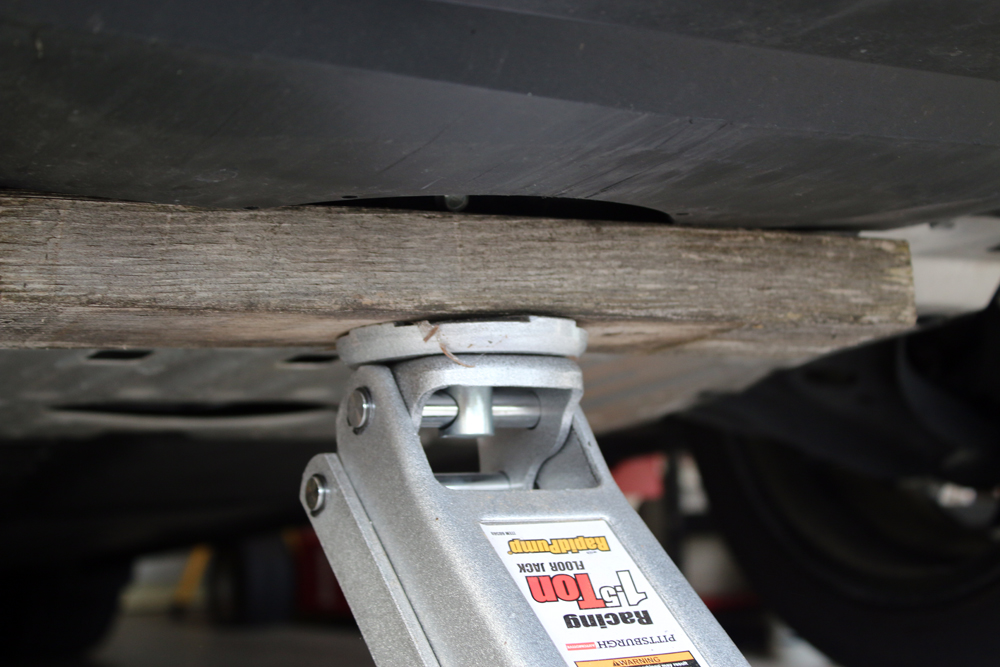
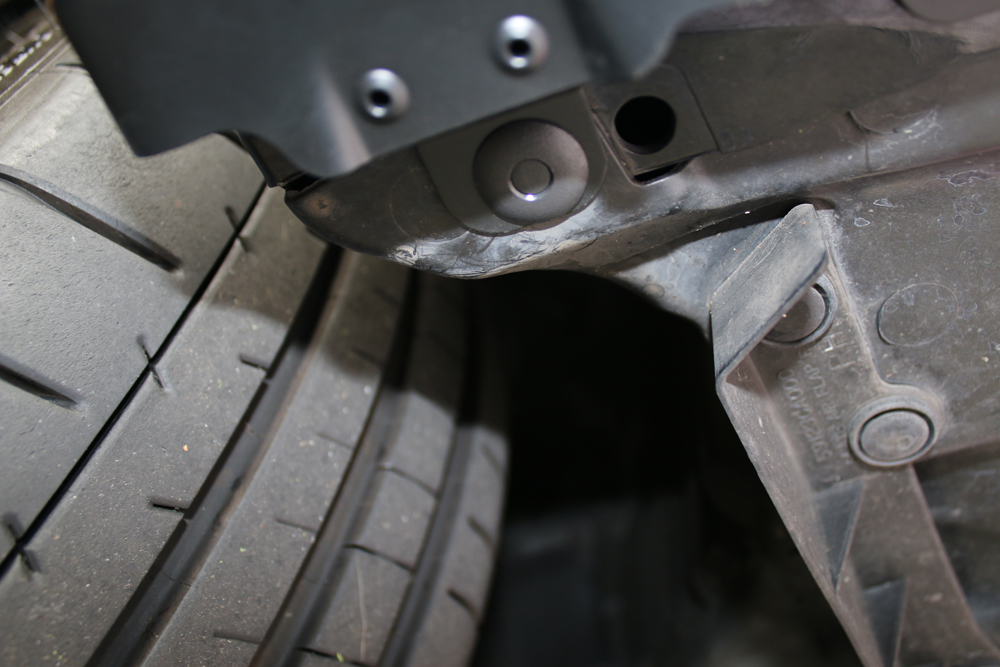
Find the proper jack point in the center front of the car. You’ll see it is right behind the large plastic plate and looks like a loop from the side. We used a piece of wood to protect the paint and prevent damage, but this is optional.
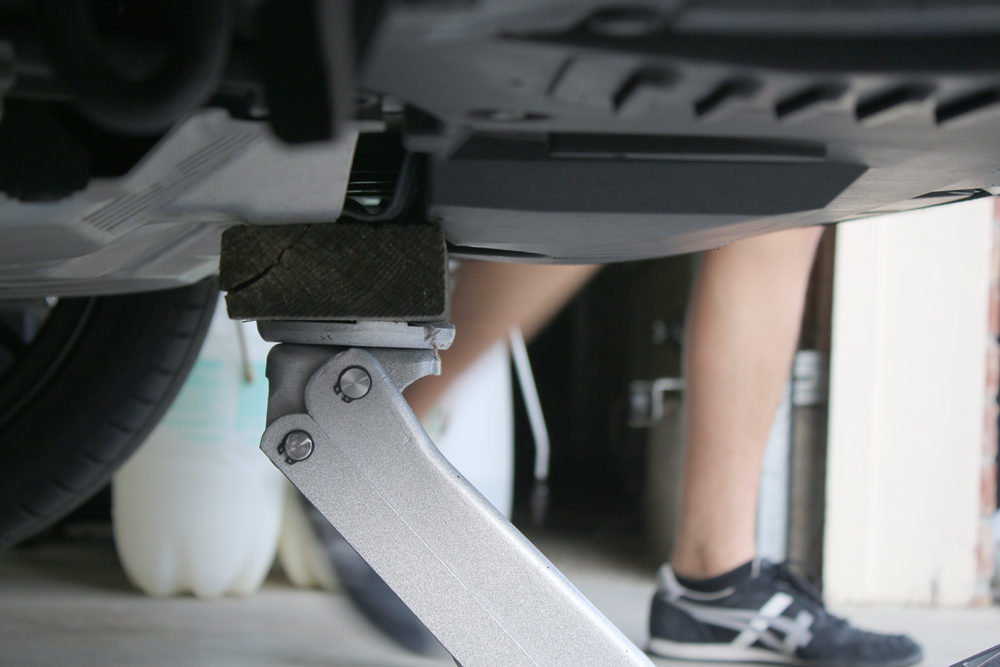
Jack up the car until you can put the jack stands under the necessary points on both sides.
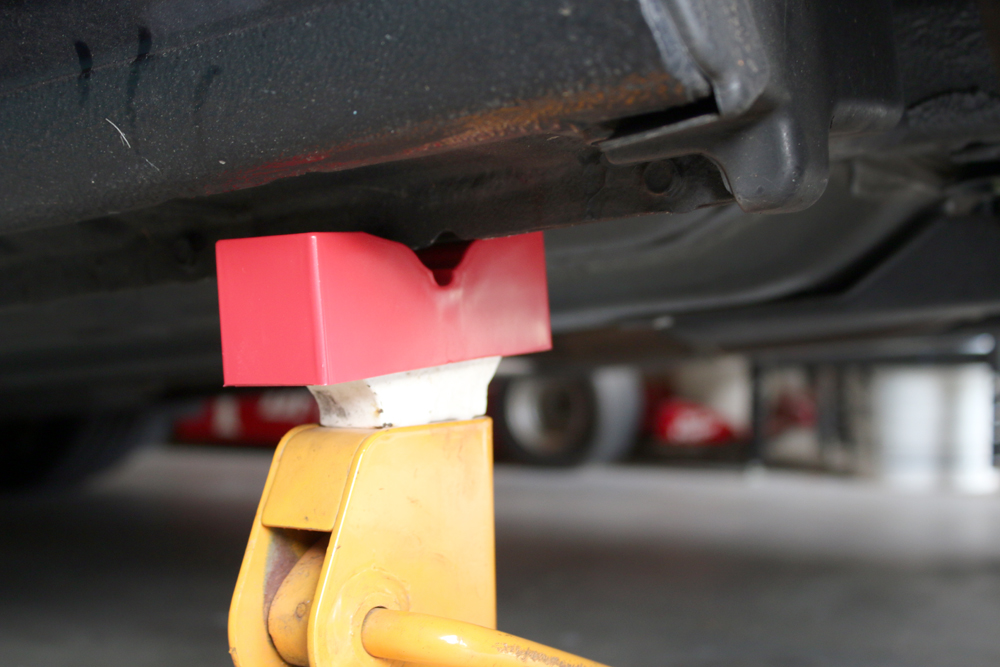
(This one wasn’t lowered yet, so you can see the notches where to place the stand)
Once you've got the car up safely, clean the area of the car in which you’ll be attaching the lip so you don’t seal in dirt and junk forever.
Now you’re ready to get started.
Per the instructions, the first thing you should do is drill. So, I guess this things are supposed to be helpful....ahem.

Yea, we saw these and just said no. If you prefer to use them, go for it. We had a different, easier way to drill the holes, albeit a little redundant. (You'll understand why in a bit)
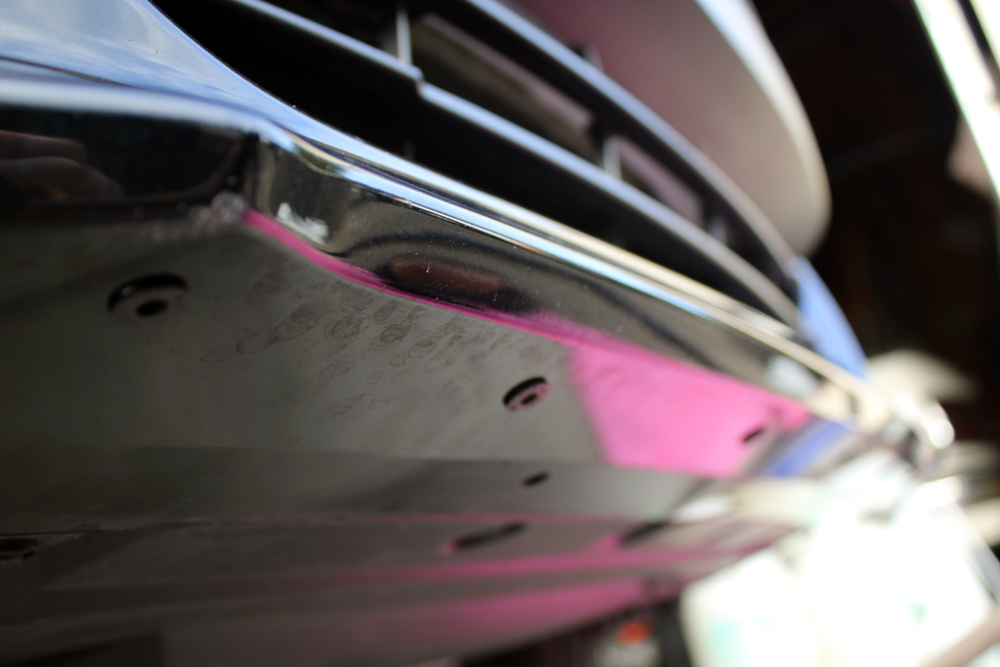
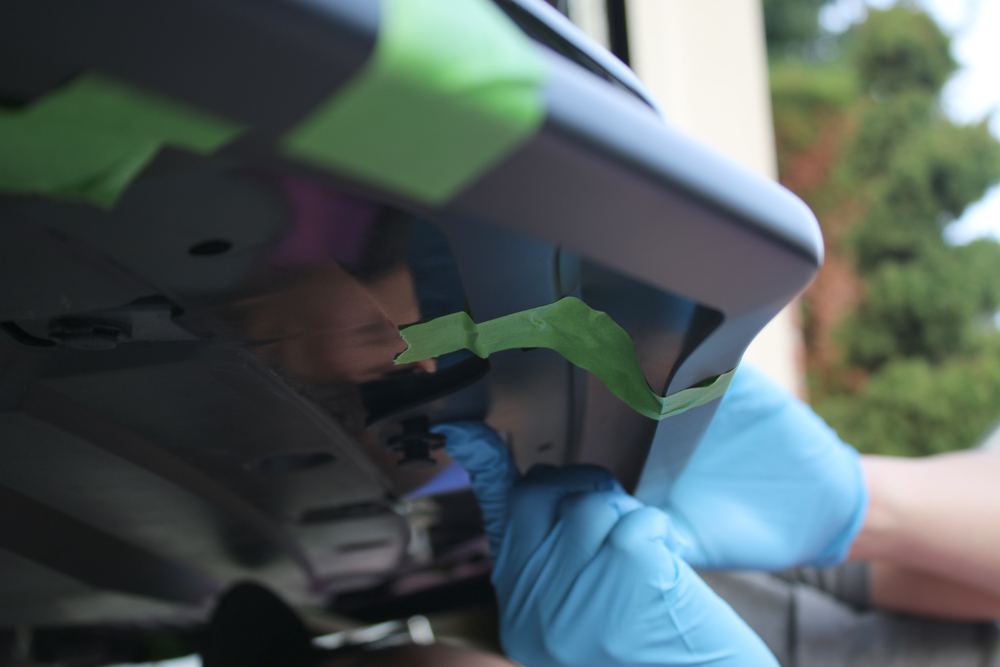
We took the frog tape and taped the lip to the car, aligning it with the large clip holes in the front and made sure the sides were flush.
Doing this allows you to see EXACTLY where the holes should be drilled. Use your white charcoal pencil, like we did, and mark through the holes in the lip where you’ll need to drill.
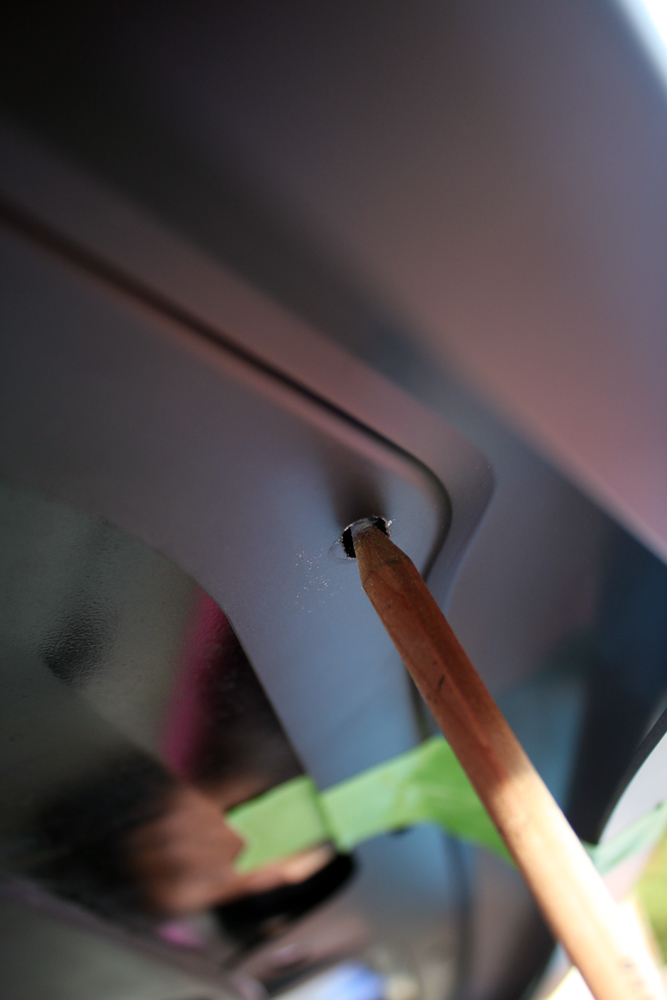
There should be 12 for the grommets and 2 on the side.
Don’t forget the two on the side or, later on, you’re gonna have a baaaaad time.
Now, after all that awesome taping, you need to take the lip back off.
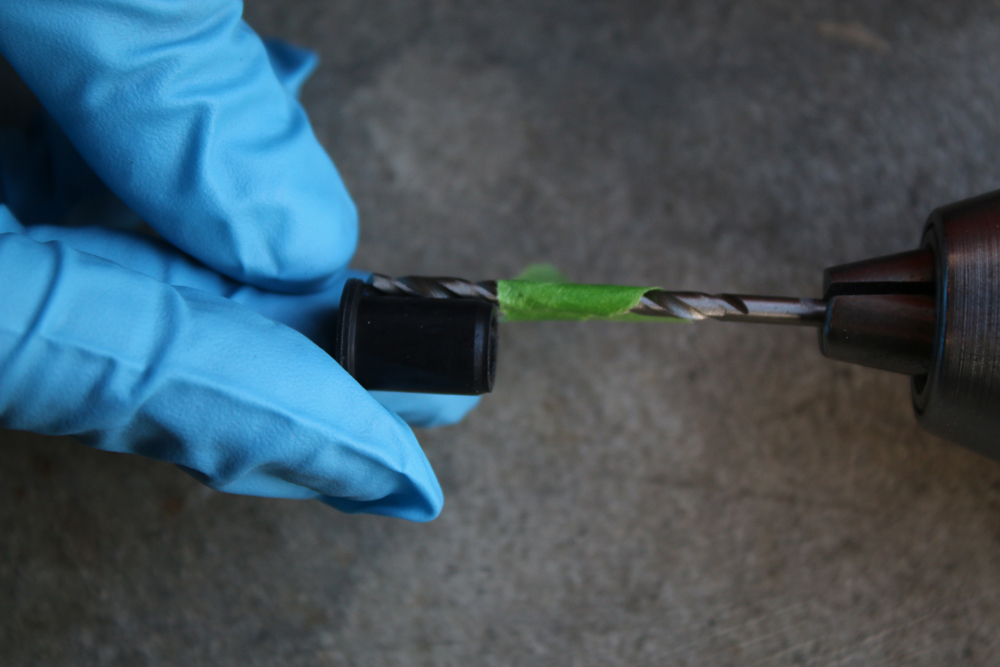
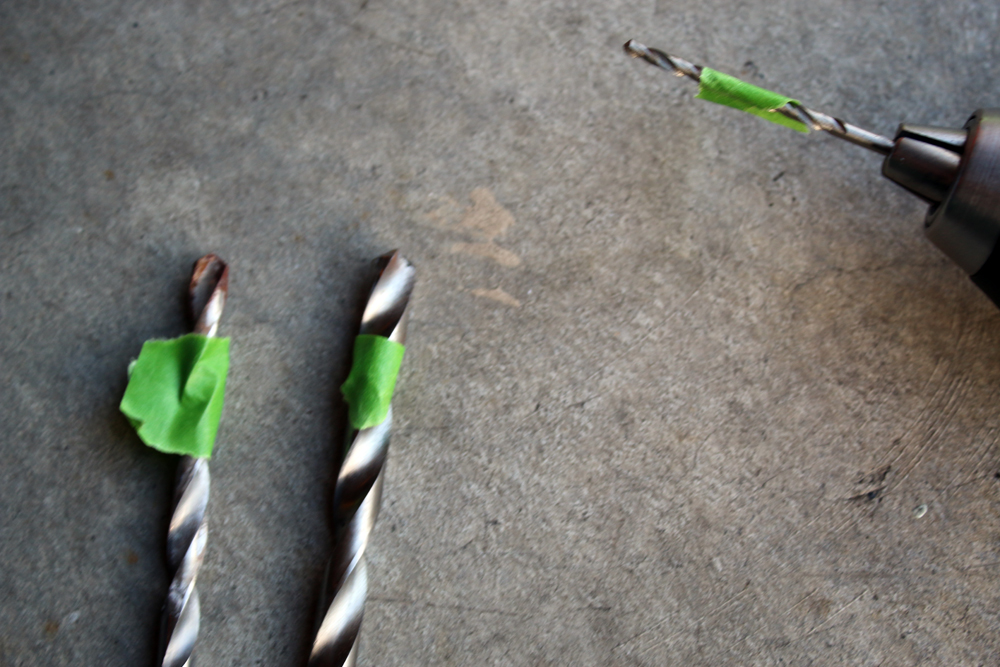
Before you start drilling, mark off how far to drill in. Again, the easy way to do this without pulling out a ruler is to hold the grommet next to each bit and tape or mark it off.
If you’ve got a strong arm, be steady and careful when drilling and keep using the marked off bits. After the first or second drill, you’ll probably get the hang of it and realize that there’s nothing beyond each point and just don’t drill to the bottom of each bit. You shouldn’t hit anything; it’s all hollow beyond the point of entry.
Take your 3mm bit (or 9/64) and drill a small starting hole at each point you marked.
Technically you’re supposed to work your way up from the smallest bit to the largest. In other words, drill using the 3mm, then the 6mm, then the 9mm. I just went from 9/64 to 3/8, cuz I’m awesome….or lazy….not sure which, but it worked.
A note to anyone using the standard bits; 3/8 is a hair bigger than 9mm, so don’t drill all the way in with the bit as you risk the grommet being a little loose. Go very slowly and use just the start of the bit and you’ll be fine.
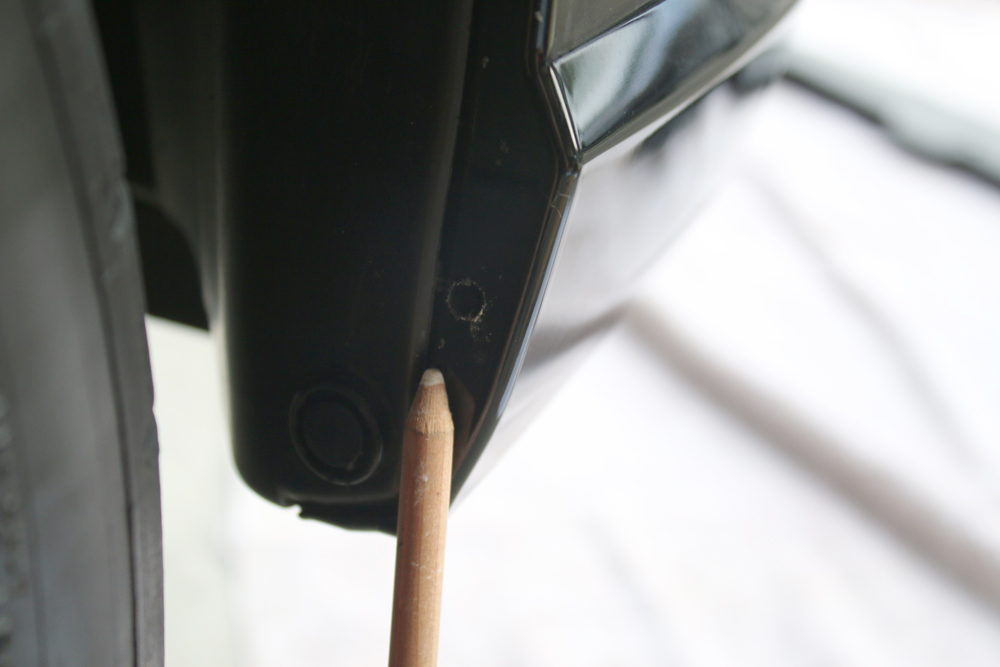
Lastly, take your 7/32 (or 5 mm) bit and drill a hole for the side clips.
Next, put in all the grommets. They should be snug.
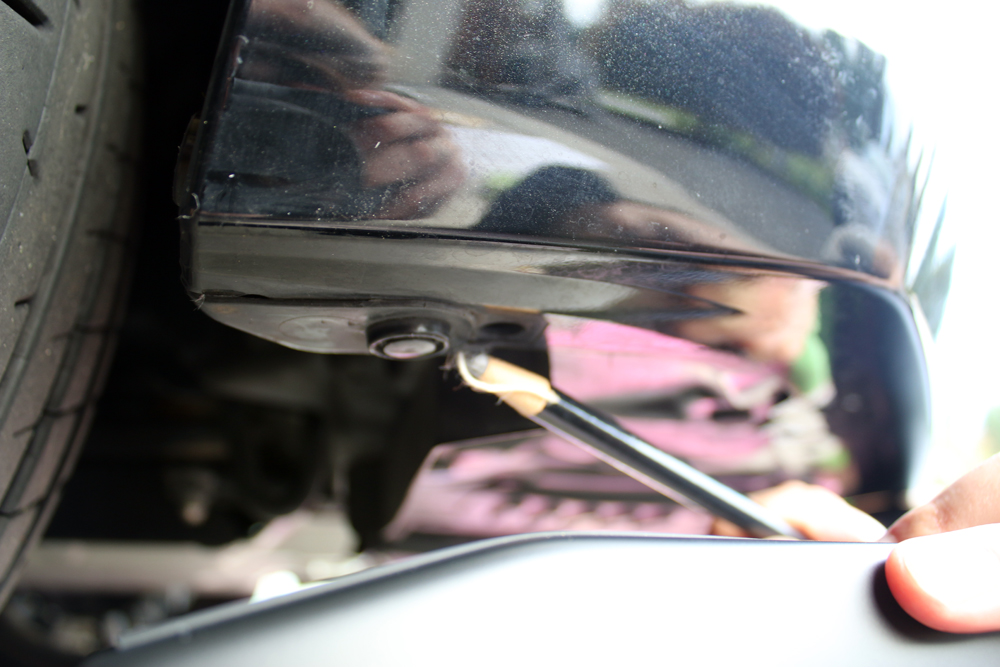
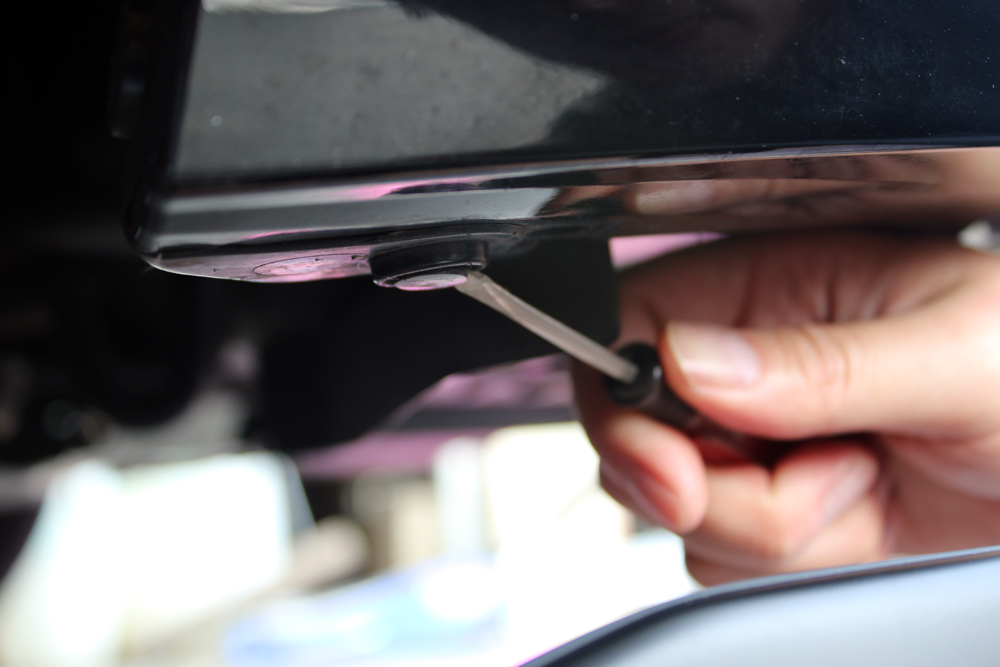
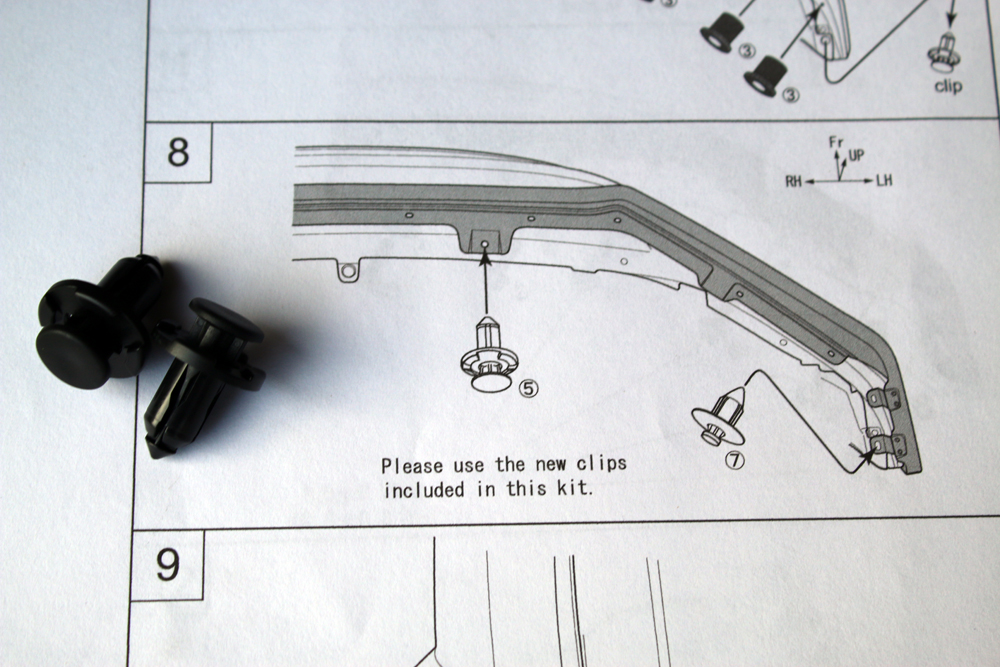
Next, you’ll need to remove 2 clips and replace them with the lip on. (A helper or the Frog Tape helps again here while you are doing this) Use your straight edge screwdriver to remove the clip.
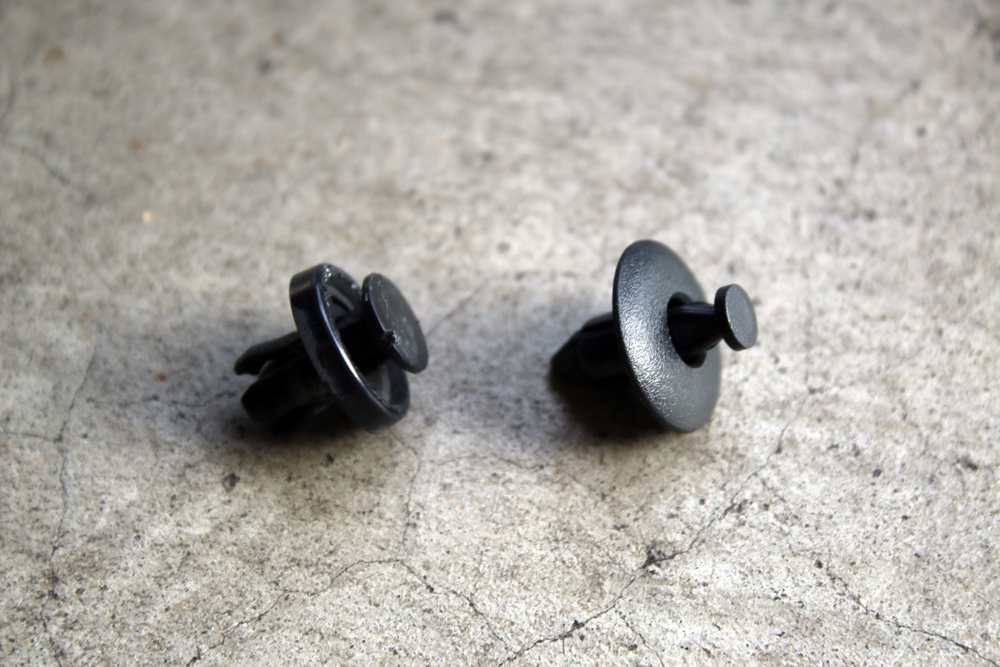
As you can see in the pic below, the clip on the left is the one pried out of the car and the one on the right is the new one with which you will replace.
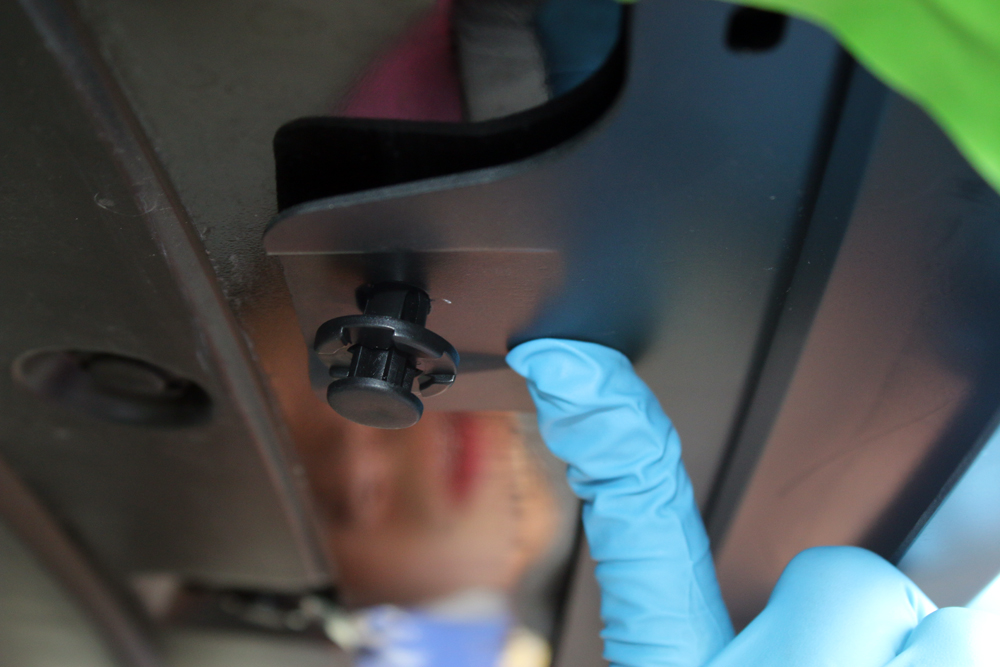
Here you can see the new clip installed.
Now, you can put in the large clips in the front.
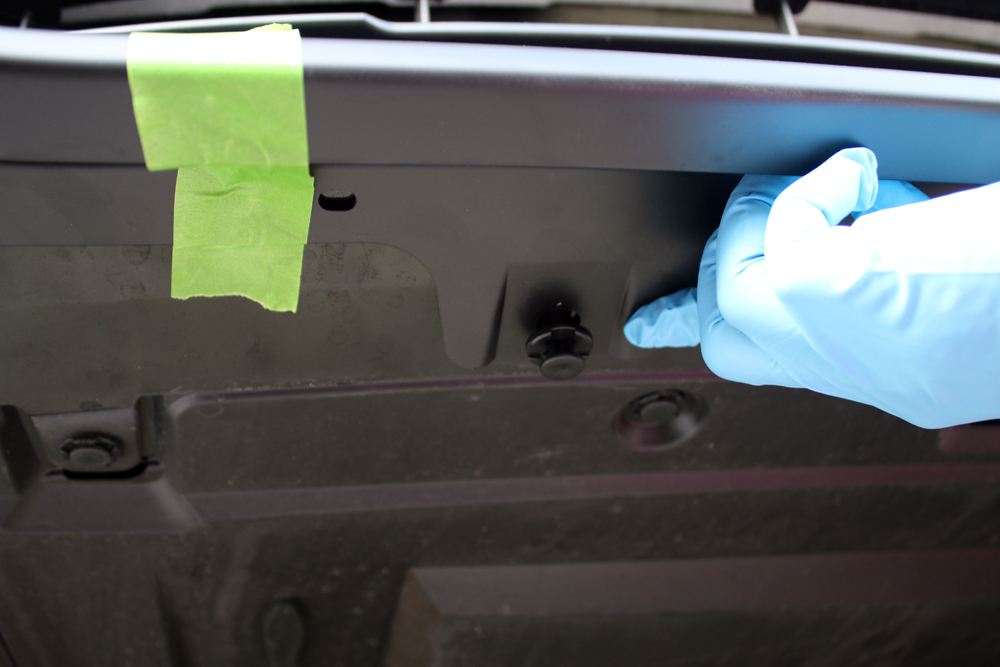
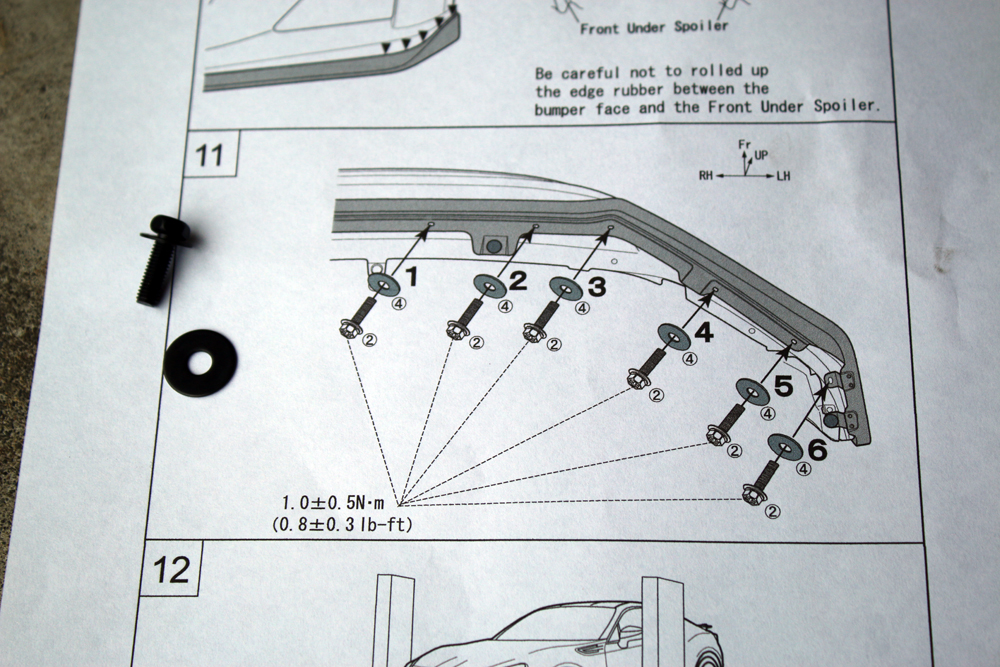
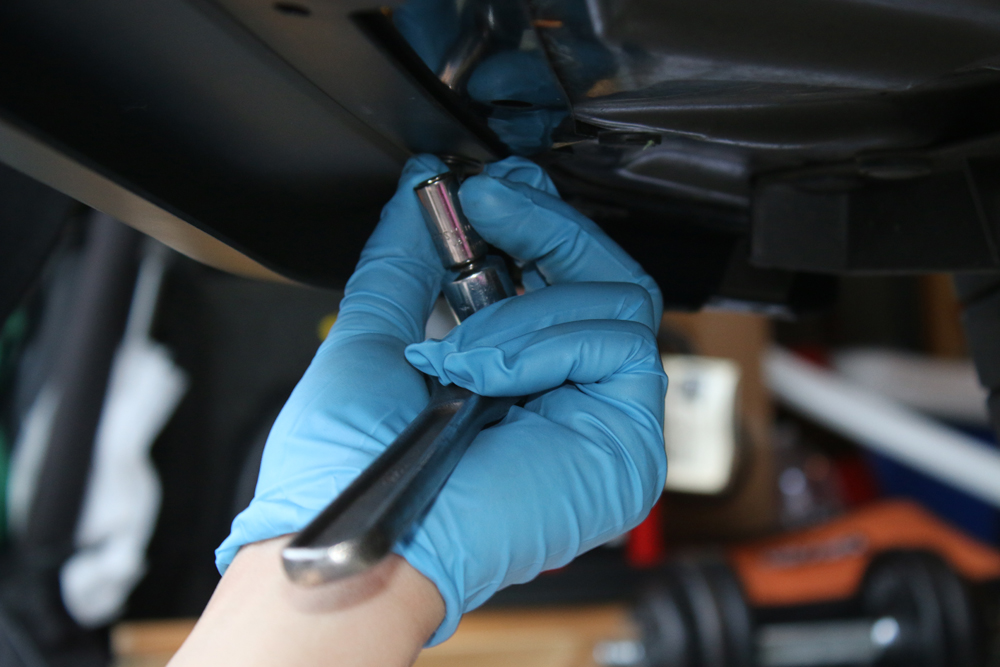
Next, you can take the washers and put them onto the bolt screws and into the grommets.
A Phillips helps to get them on and the 8mm socket wrench helps tighten them.
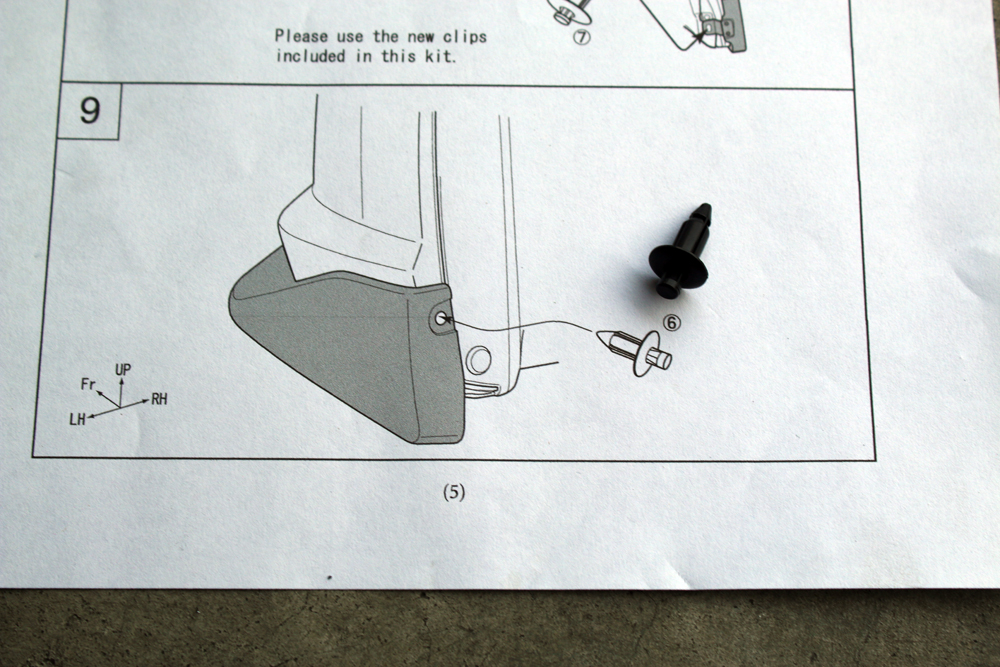
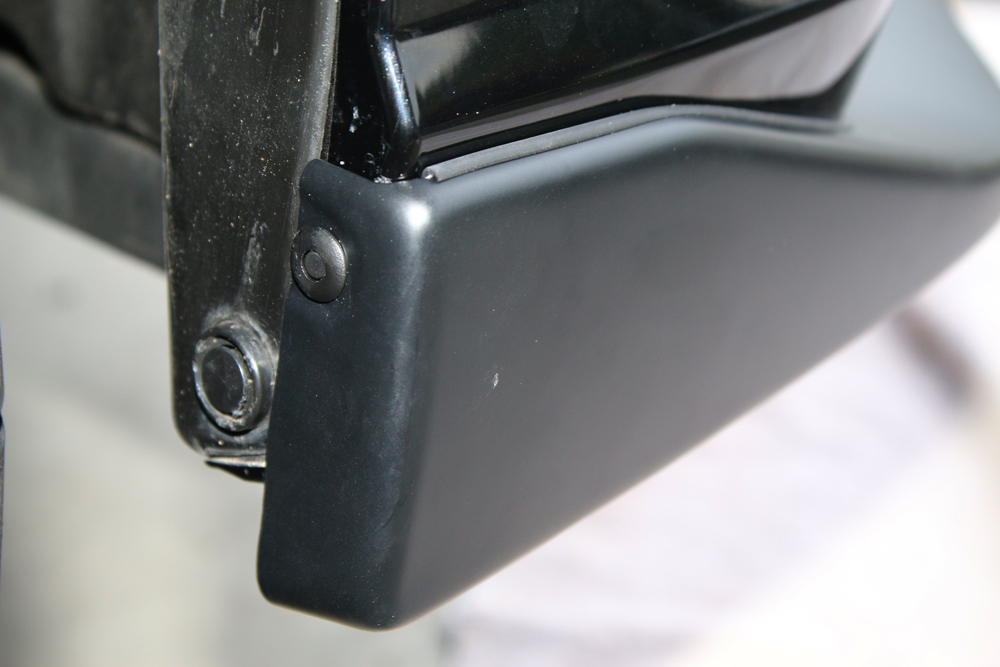
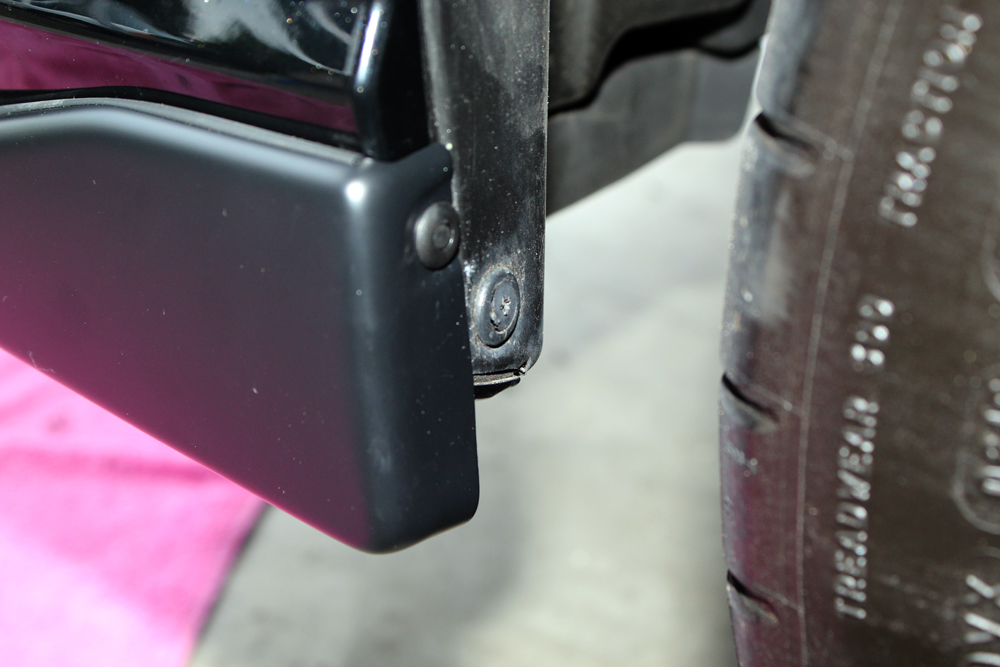
Remember those two holes on the side you drilled earlier?
Finally, you can put in those clips now. (This could have been done earlier, technically.)
Put the jack back under the car and carefully raise the car again to remove the jack stands and lower the car completely. Hopefully, you have a low profile jack to begin with, though, because….yea, the front is lower than before. Our low-pro jack barely cleared the front lip.
Clean up the chunks of car that you drilled out and there you have it. The STi lip installed on your BRZ/FRS.
Hopefully, this was helpful. Please leave a comment and share this page with anyone that could use it.
If you want your own Genuine Subaru BRZ Front Under Spoiler, you can order it from us here!

You must login to post comments.